Reusable Zippered Snack Bag Pouches – A Tutorial | Charlottesville VA Child Photographer
If you don’t already know, I love to make things. Especially as gifts. My love language is definitely gift giving so it’s also a major way that I express my love to others. If I take the time to make something for you or your child, there is no greater way for me than that to show you how much you mean to me and my family. Consequently, I dabble in lots of handmade things and people are always asking me how I made this or that. I’ve been wanting to make some tutorials for at least a year now but just haven’t had the time or made it a priority. Today my kids are under the weather and crabby and I’m battling the worst sinus pressure I’ve ever had so of course I thought today was the perfect day to do my first tutorial! Actually my son returns to preschool next week and I really needed to get these snack bags done because I’m out of disposable baggies and I’m just plain tired of throwing them away. So here we go!
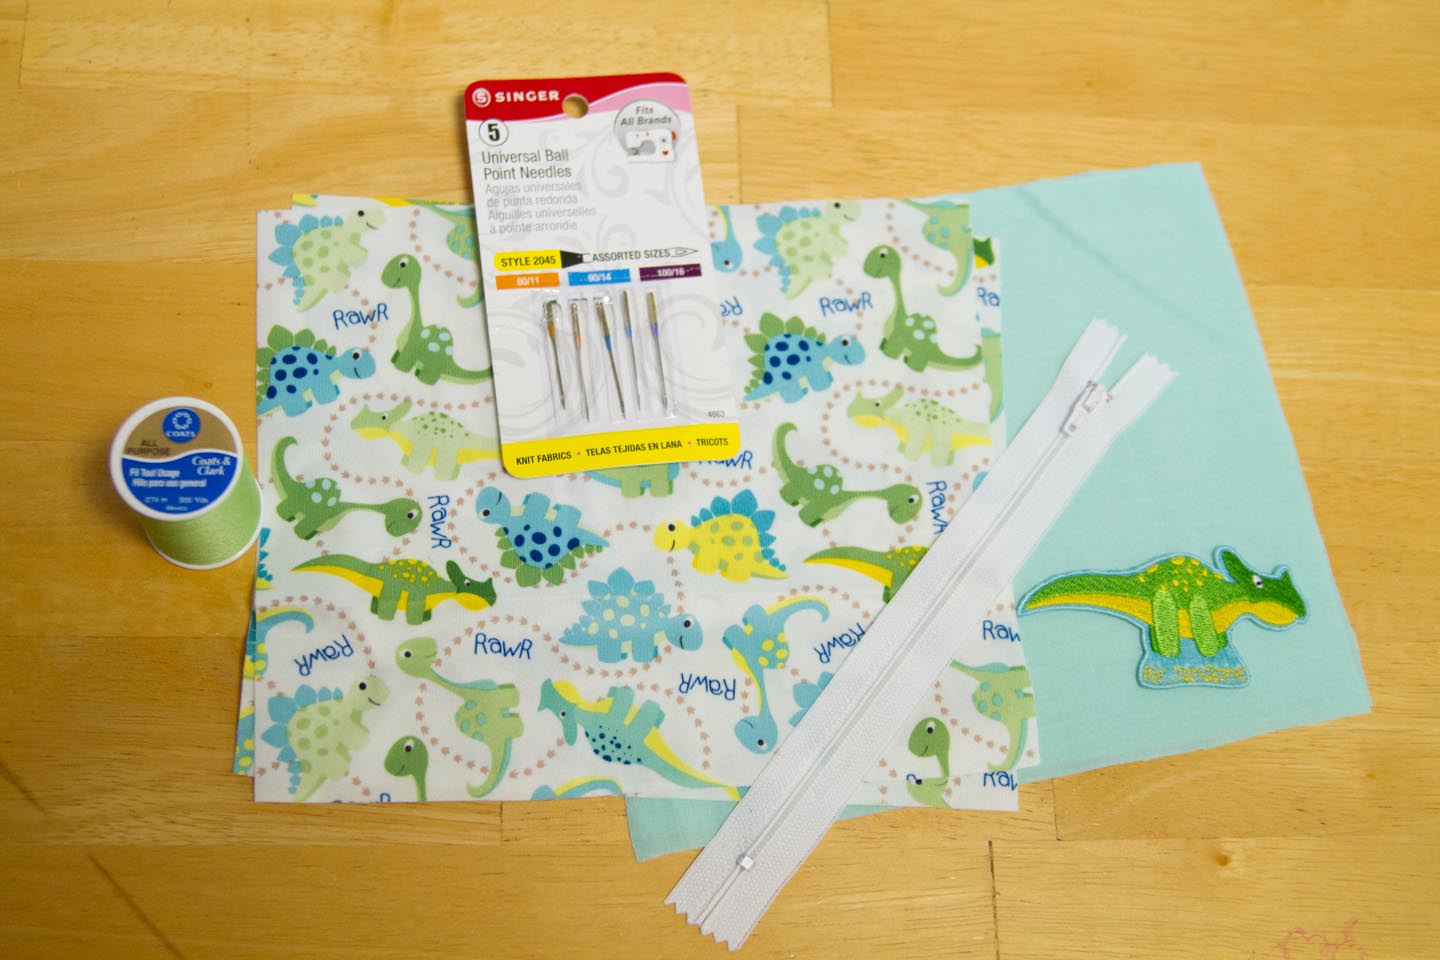
Supplies:
2 pieces of PUL fabric cut to 8 1/2 x 7 for the outside of the bag
2 pieces of cotton fabric cut to 8 1/2 by 6 1/2 for the inside of the bag
1 7″ zipper
Ballpoint Needle No 9
Polyester Thread
Desired Applique (Optional)
Wax Paper (Now you think I’m crazy but hang with me)
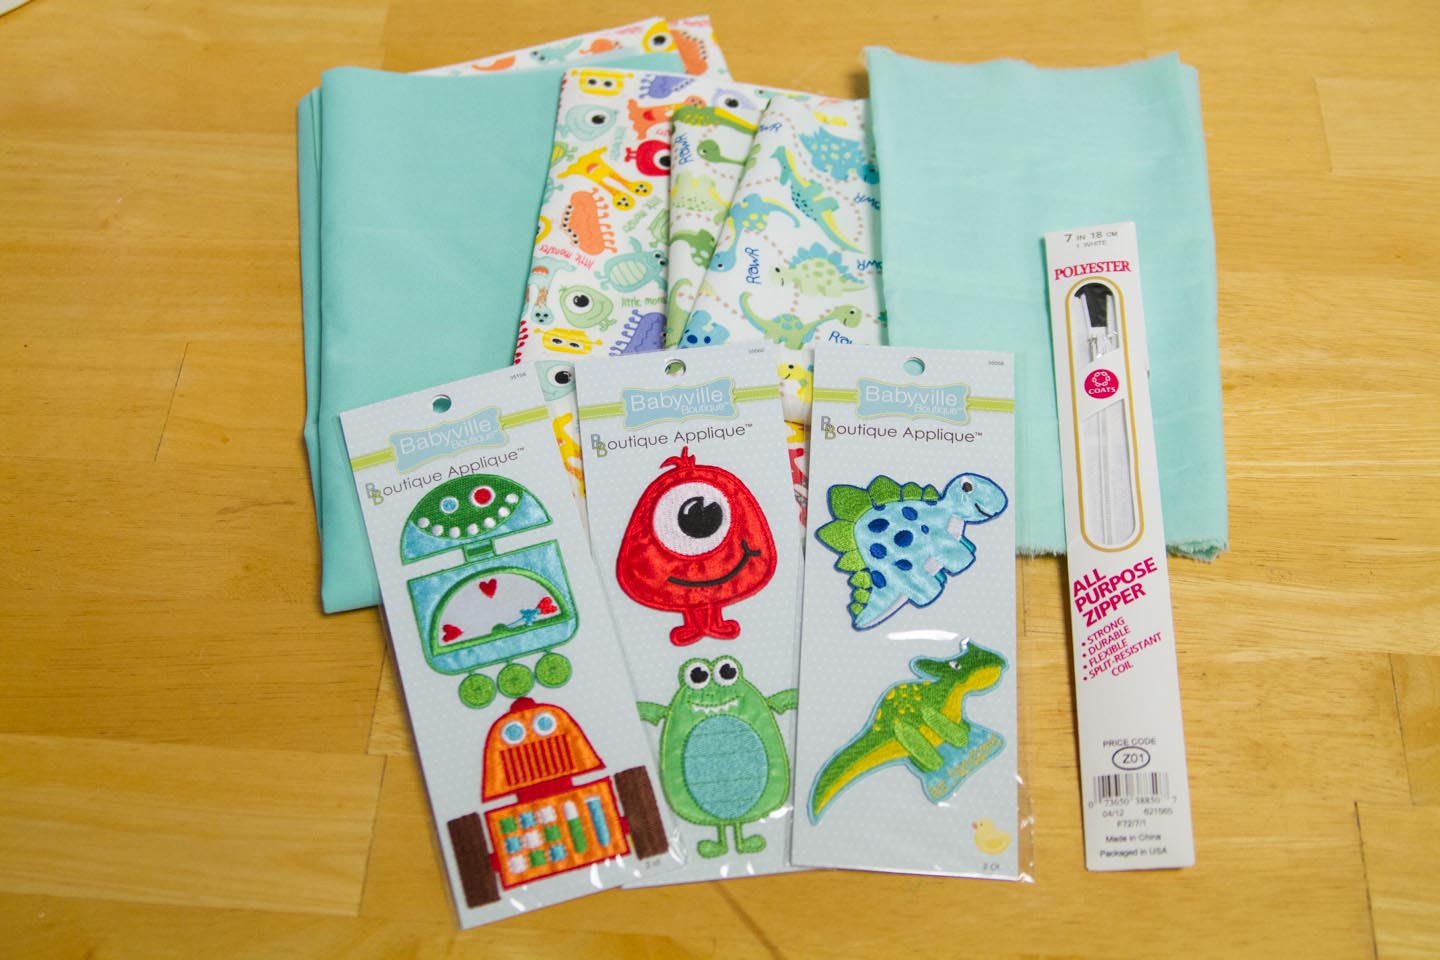
I found these super cute PUL fabrics by Babyville Boutique at Joann’s and picked up some of their coordinating appliques to decorate the bags. In my mind I was thinking that I would make each child three and they would know their bag based on the character applique. Like Noah got the dinosaurs and the blue robot and Lucas got two monsters and the red robot. Now do I really think that’s going to work out? Fat chance. But, it was a nice thought.
Now I’ve read some articles saying that the PUL fabric can leach chemicals onto things when wet so chances are I’m not going to put wet things into these snack bags but I wanted to add a cotton liner just so the food doesn’t rest directly on the PUL. I still like the thought of the waterproofness of the bag, especially if I put M&M’s or something in it that could melt. You can totally make this with all cotton if that is your desire and leave out the PUL fabric all together.
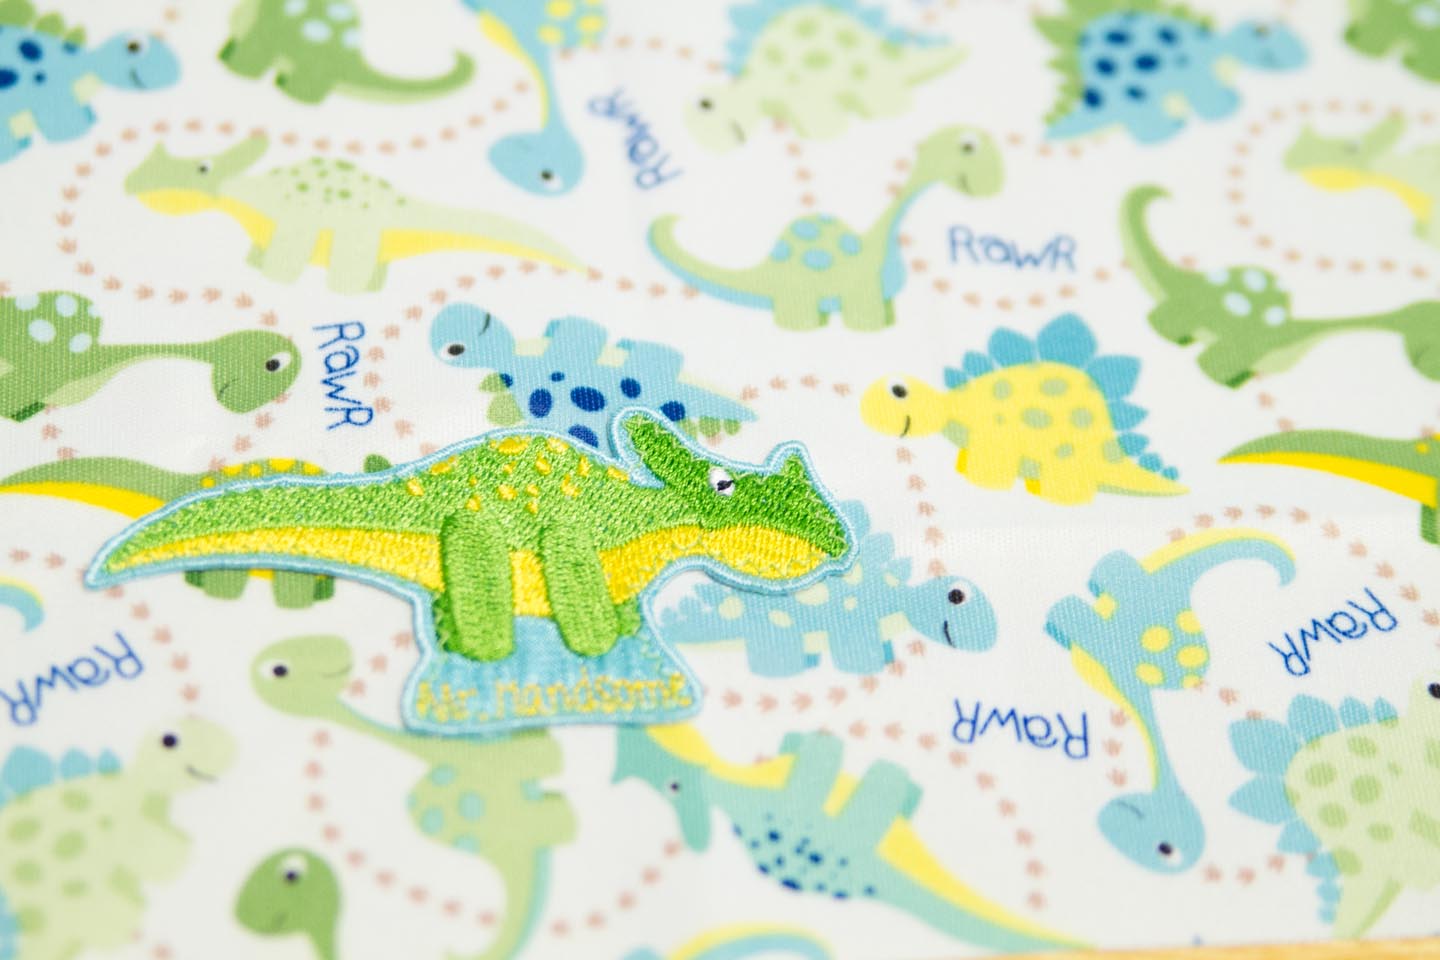
The first thing that you need to do is sew on your applique piece. You cannot iron them on to PUL fabric, they must be sewn. So I used a zigzag stitch around the edge of the dinosaur to get him on there. I pretty much ran the sewing machine by hand for this because I wanted to be precise. That’s completely your call. (A side note I forgot to mention earlier, do not iron your PUL. Embrace the wrinkles least it melt.)
Next, you need to jump right in and get that zipper on. You’ll lay your zipper face down on top of your PUL fabric which will be right side up. Normally I would have pinned the zipper to the fabric but once you put holes in PUL they are there permanently so I didn’t want to add any extra holes by pinning it.
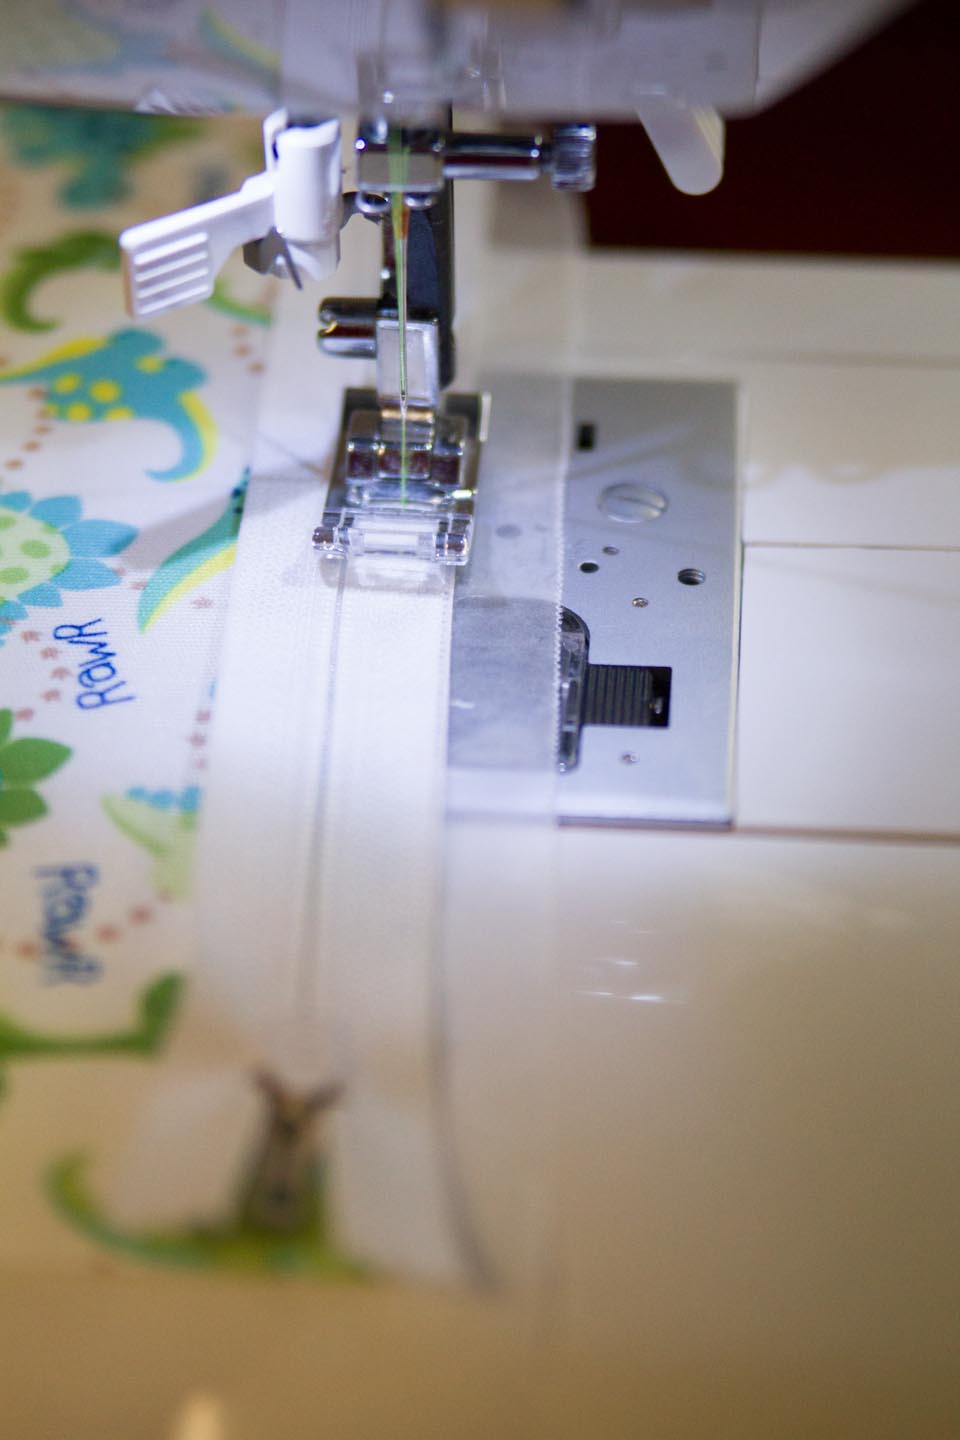
I was having a bit of trouble with the PUL sticking to the feet of my machine so I tore some wax paper to put underneath the PUL. It worked like magic. That PUL slipped right through my machine like butter. And when you’re done you just tear it off. Perfect solution!
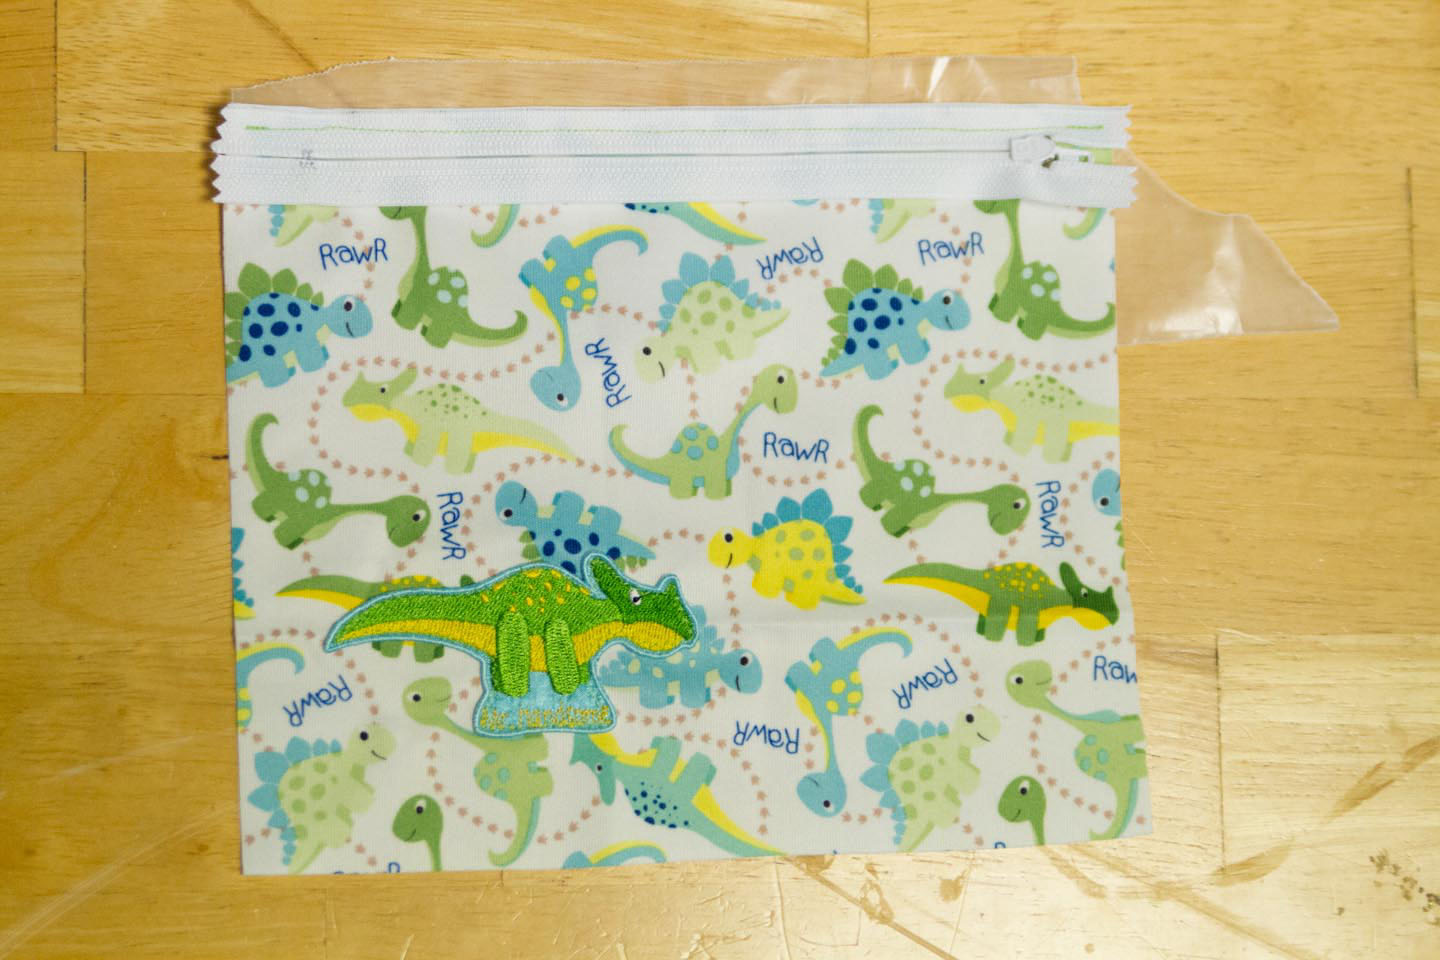
Now, I was trying to be a cool kid and not use my zipper foot because that would obviously just take too much time. Don’t try to be cool like me, use your zipper foot. You are going to sew down to your zipper pull, stop with the needle down, push the zipper pull back to where you have already sewn, and then continue sewing to the end of the fabric.
Next, you’ll just lay your piece of cotton lining on top of your zippered piece and sew another pass right along the same line.
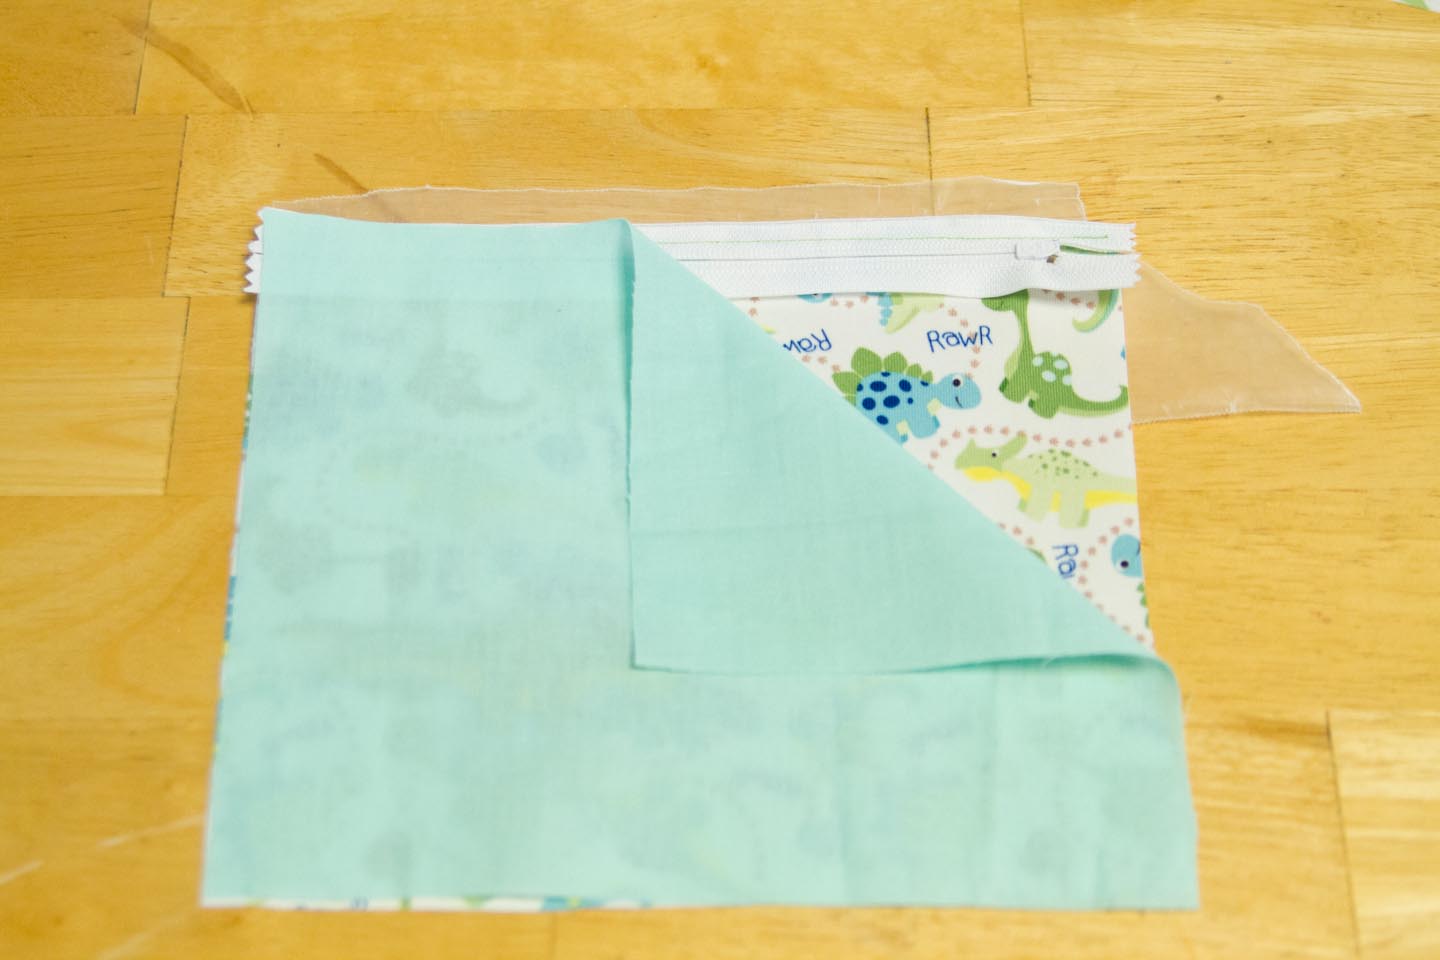
You’ll notice that I got a little off because of my cool kid antics and rebellious use of my regular presser foot but I decided to just leave it since it wouldn’t show.
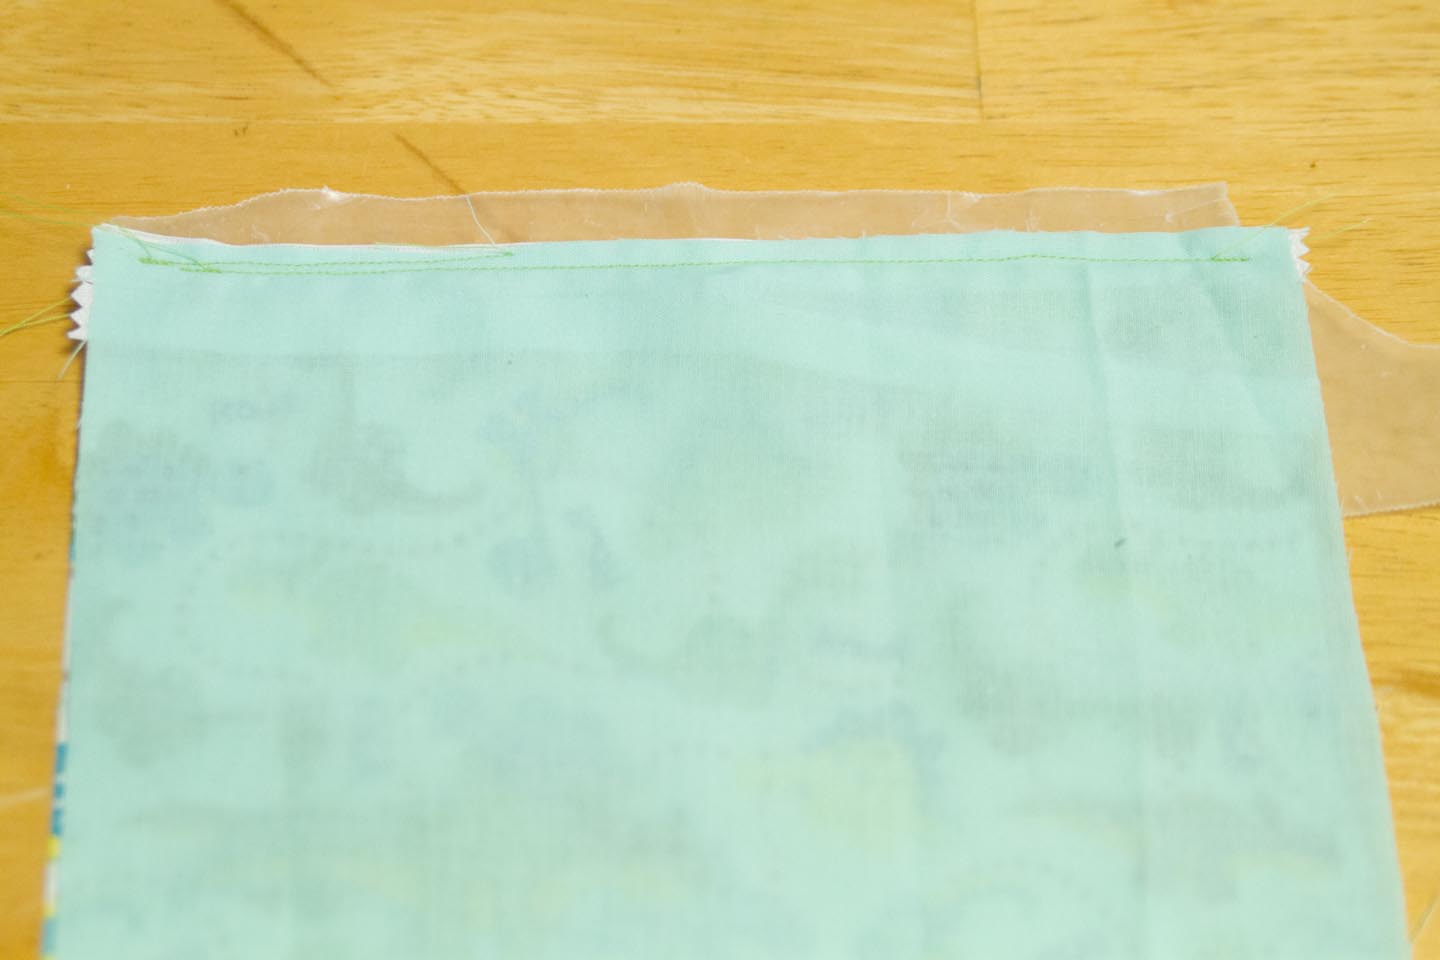
Flip the cotton lining over to the other side.
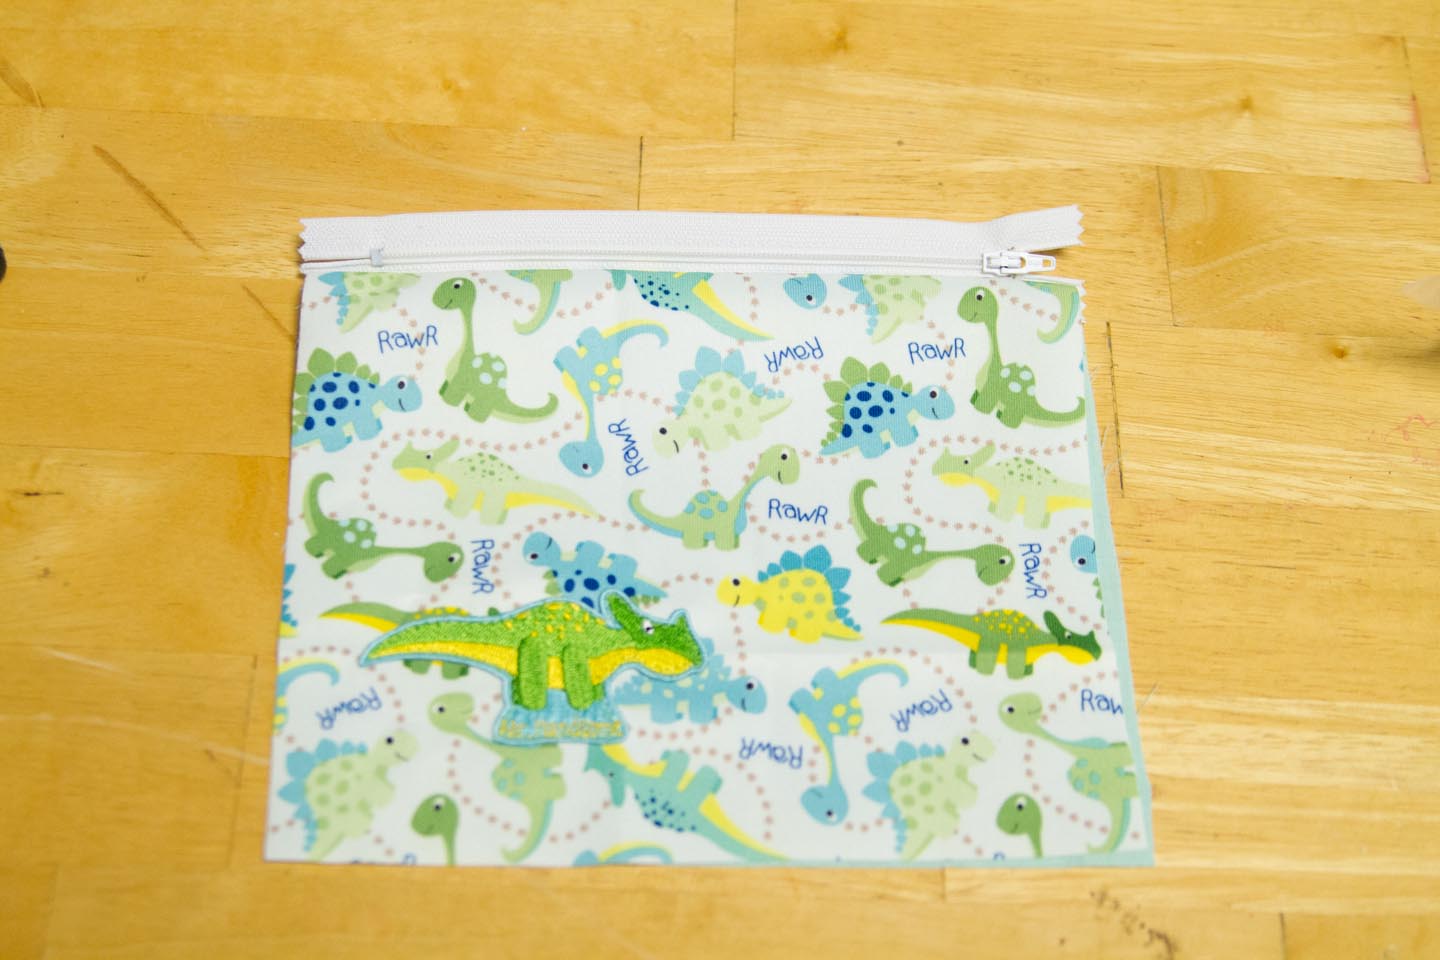
Next you’re going to line the other piece of PUL fabric up with the top of the zipper. You want the right sides of both pieces of PUL together.
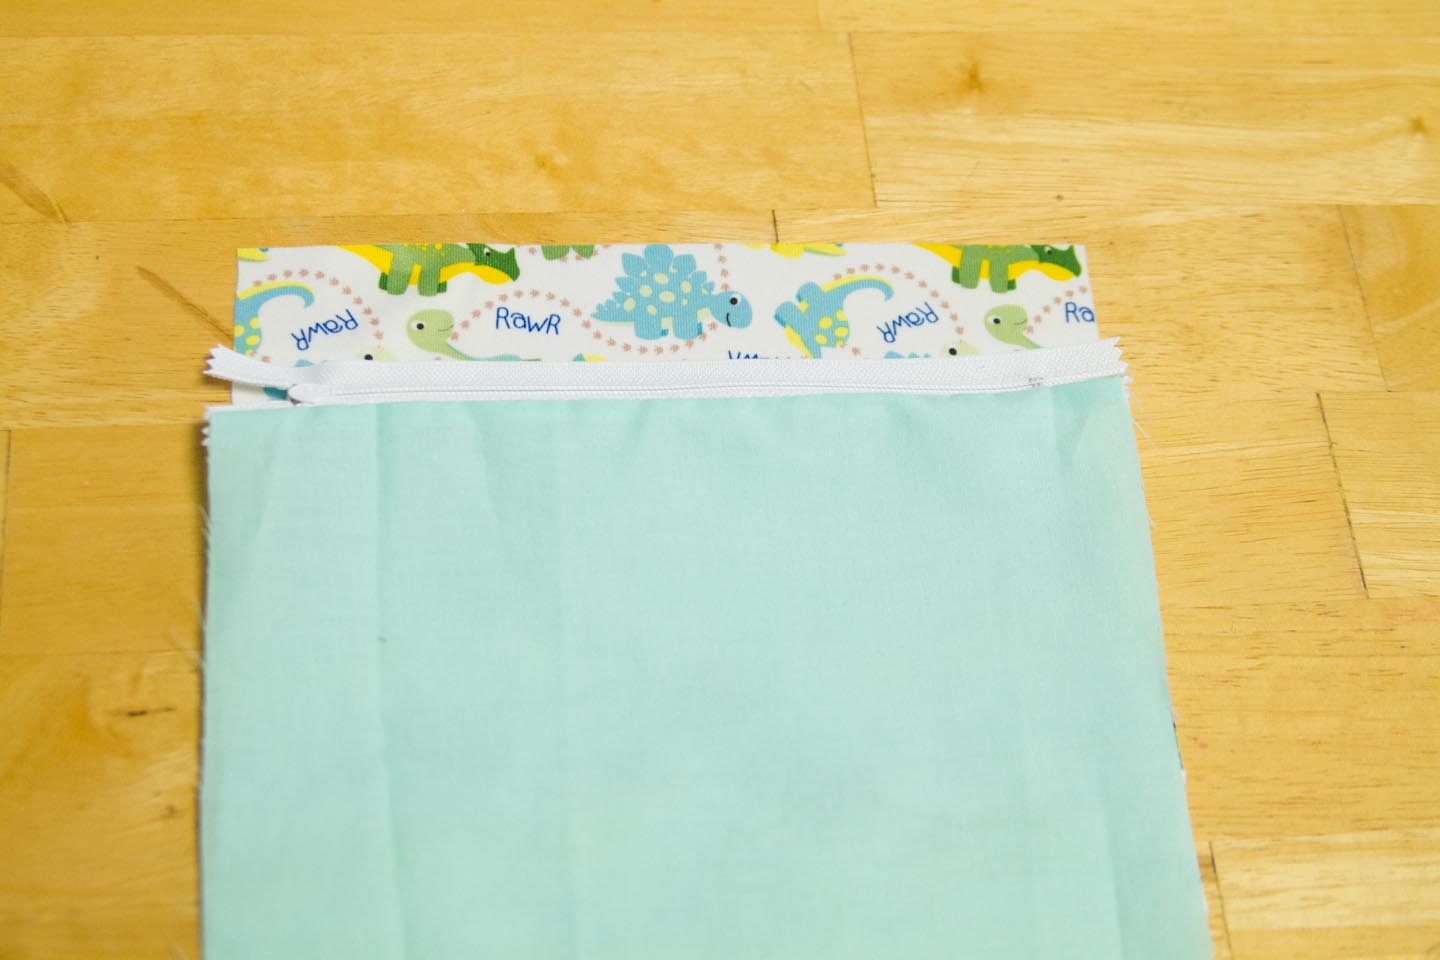
Then you’re going to put the other piece of lining on top. So you’ll have a sandwich of unsewn PUL, sewn PUL/zipper/cotton lining, and cotton lining.
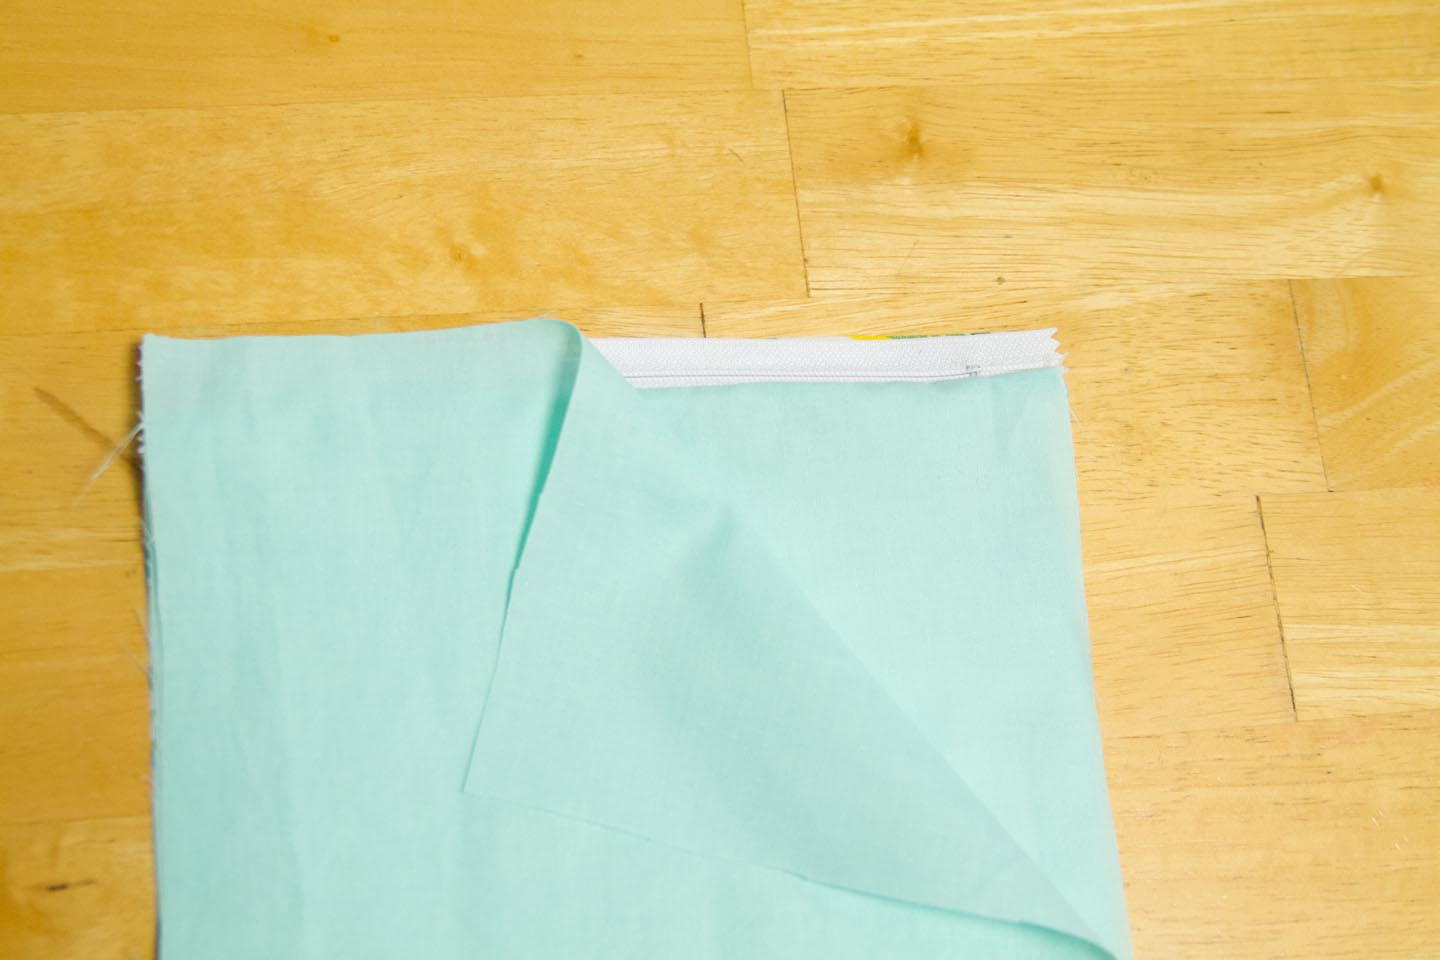
Again, I’m using wax paper under the PUL to keep it from sticking. Here’s a look at what your sandwich will look like.
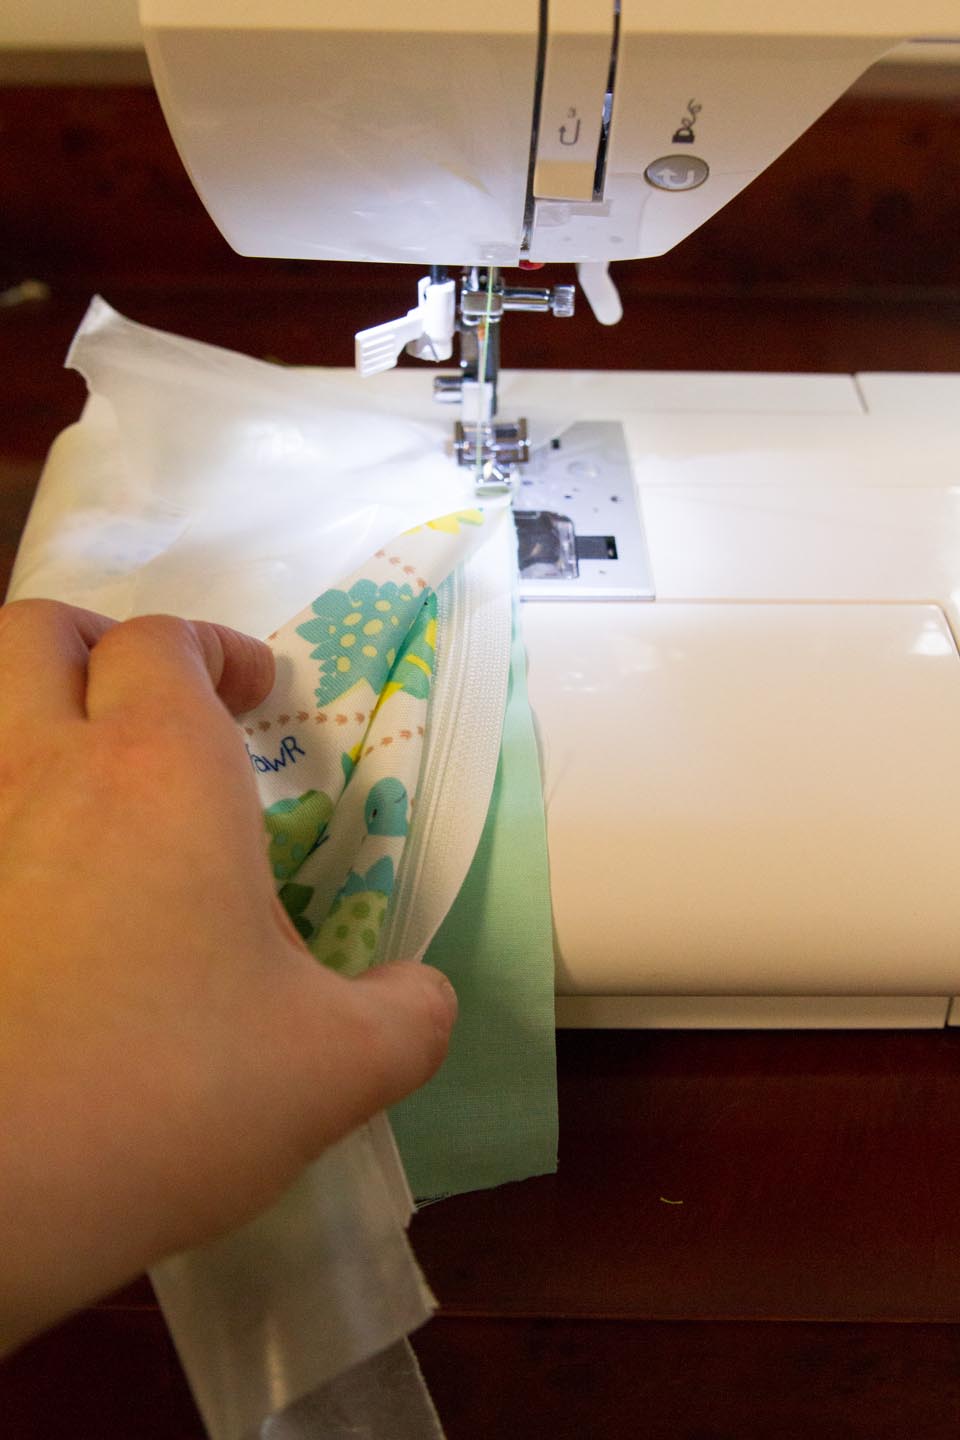
And when you’re done with that pass, just tear off the wax paper.
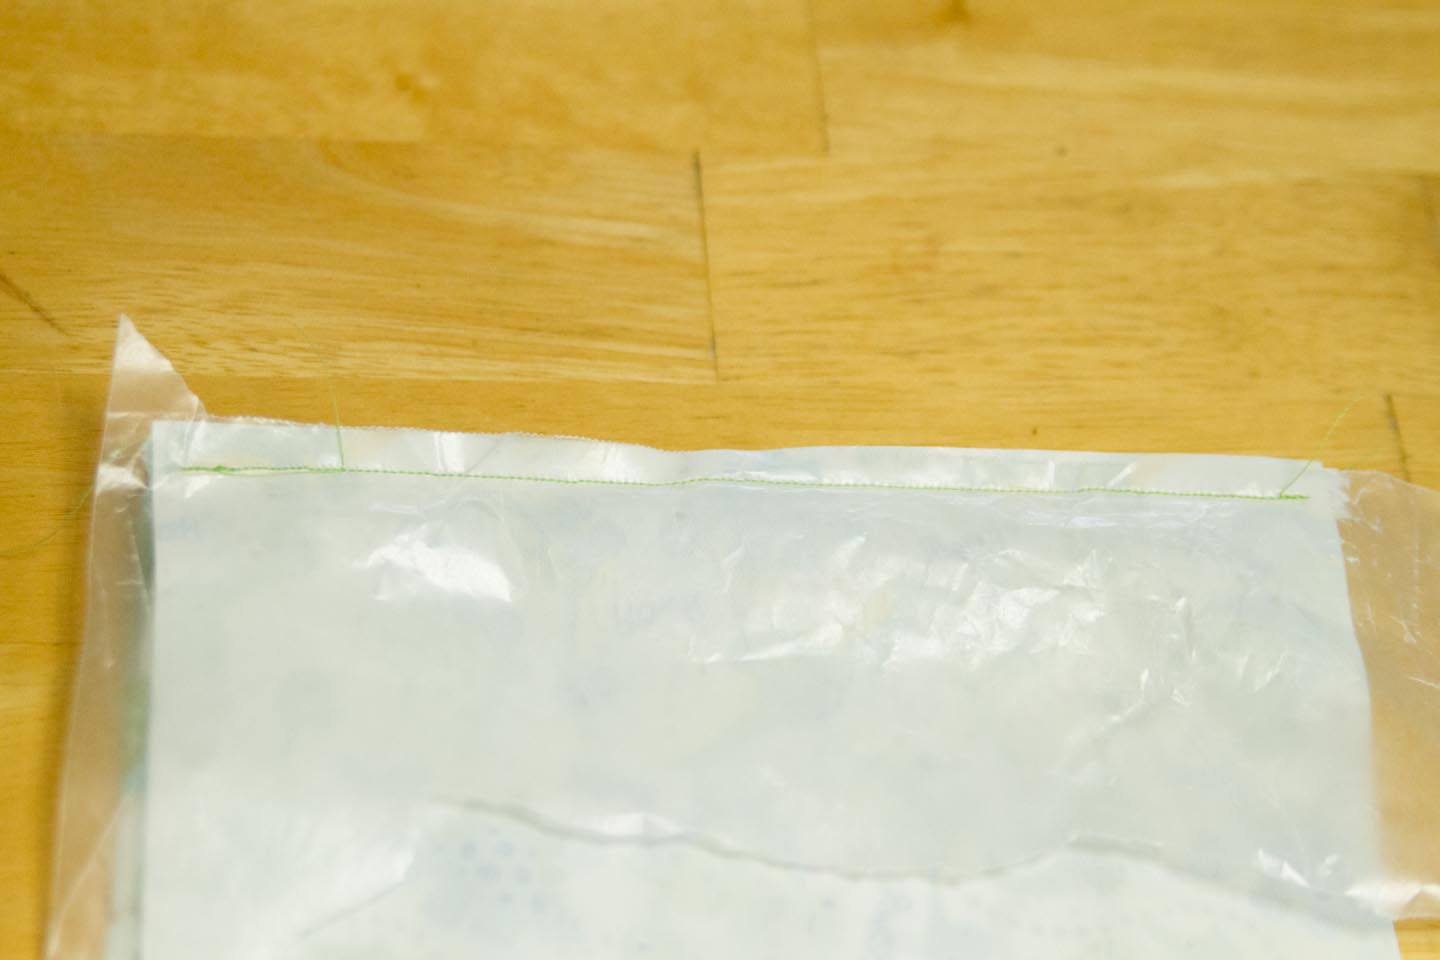
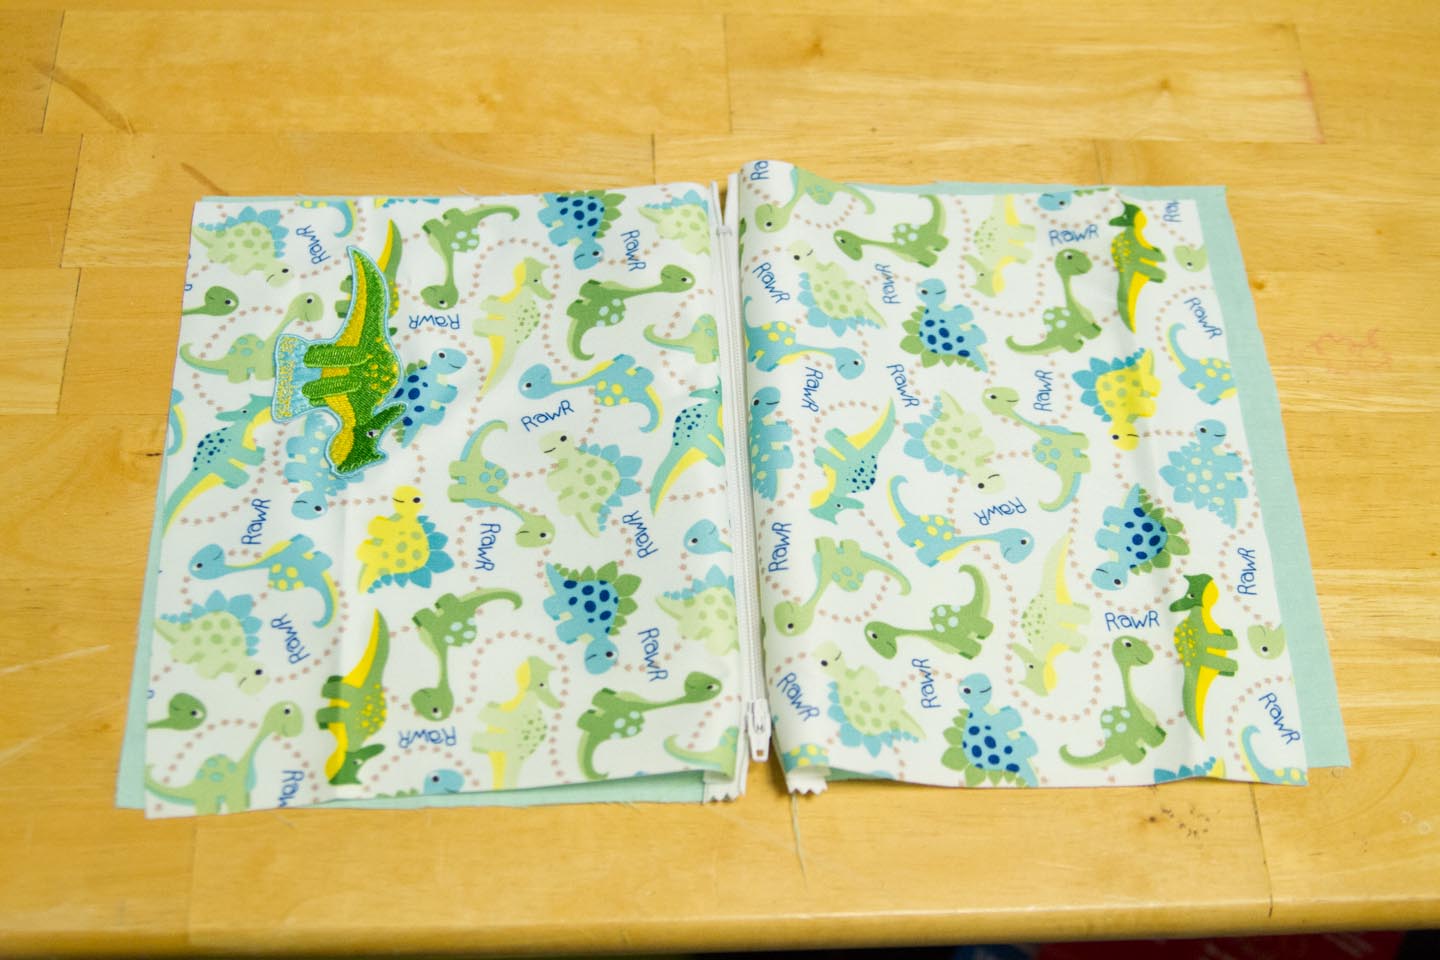
Front.
Back.
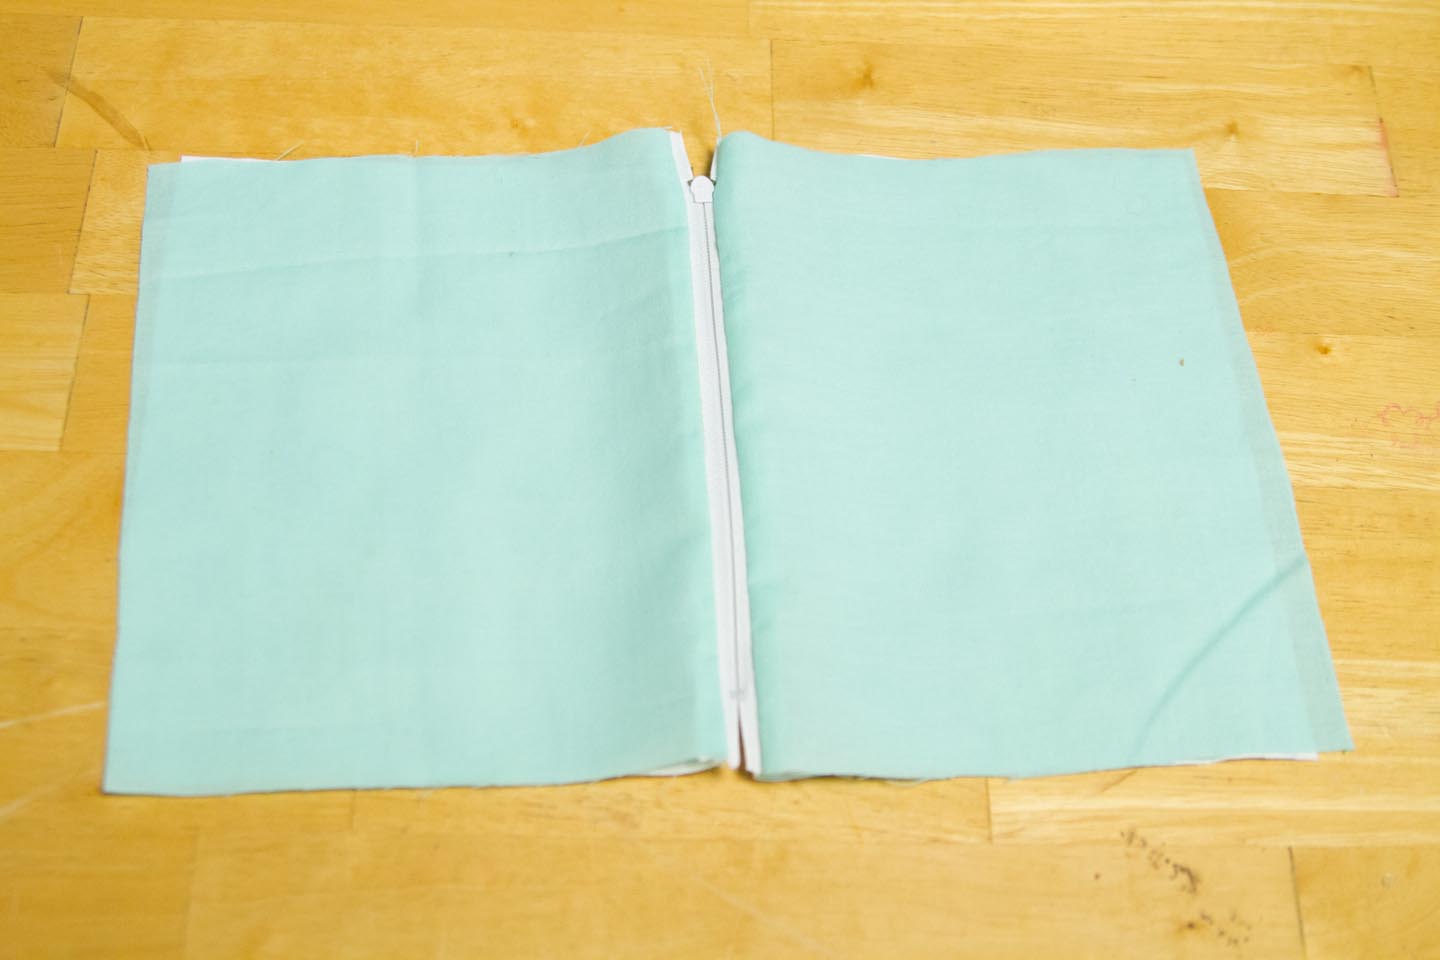
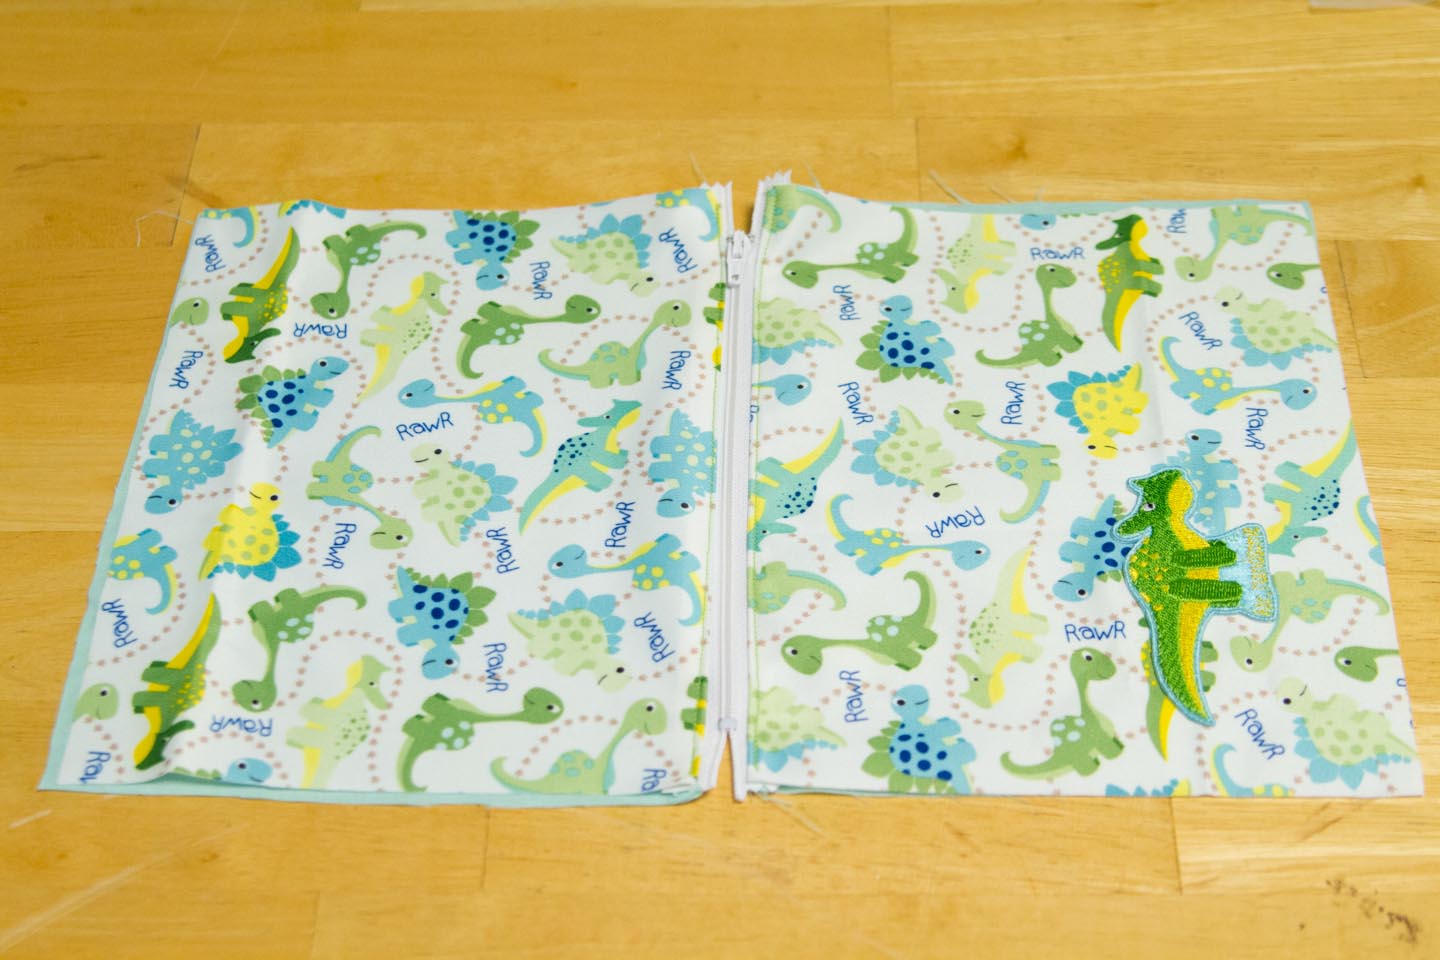
Now you’ll notice that the PUL doesn’t lay nice and flat against the zipper. It wants to puff up so I’m going to run a stitch along both sides very close to the edge of the fabric. This can safely be done with your regular presser foot.
Front.
Back.
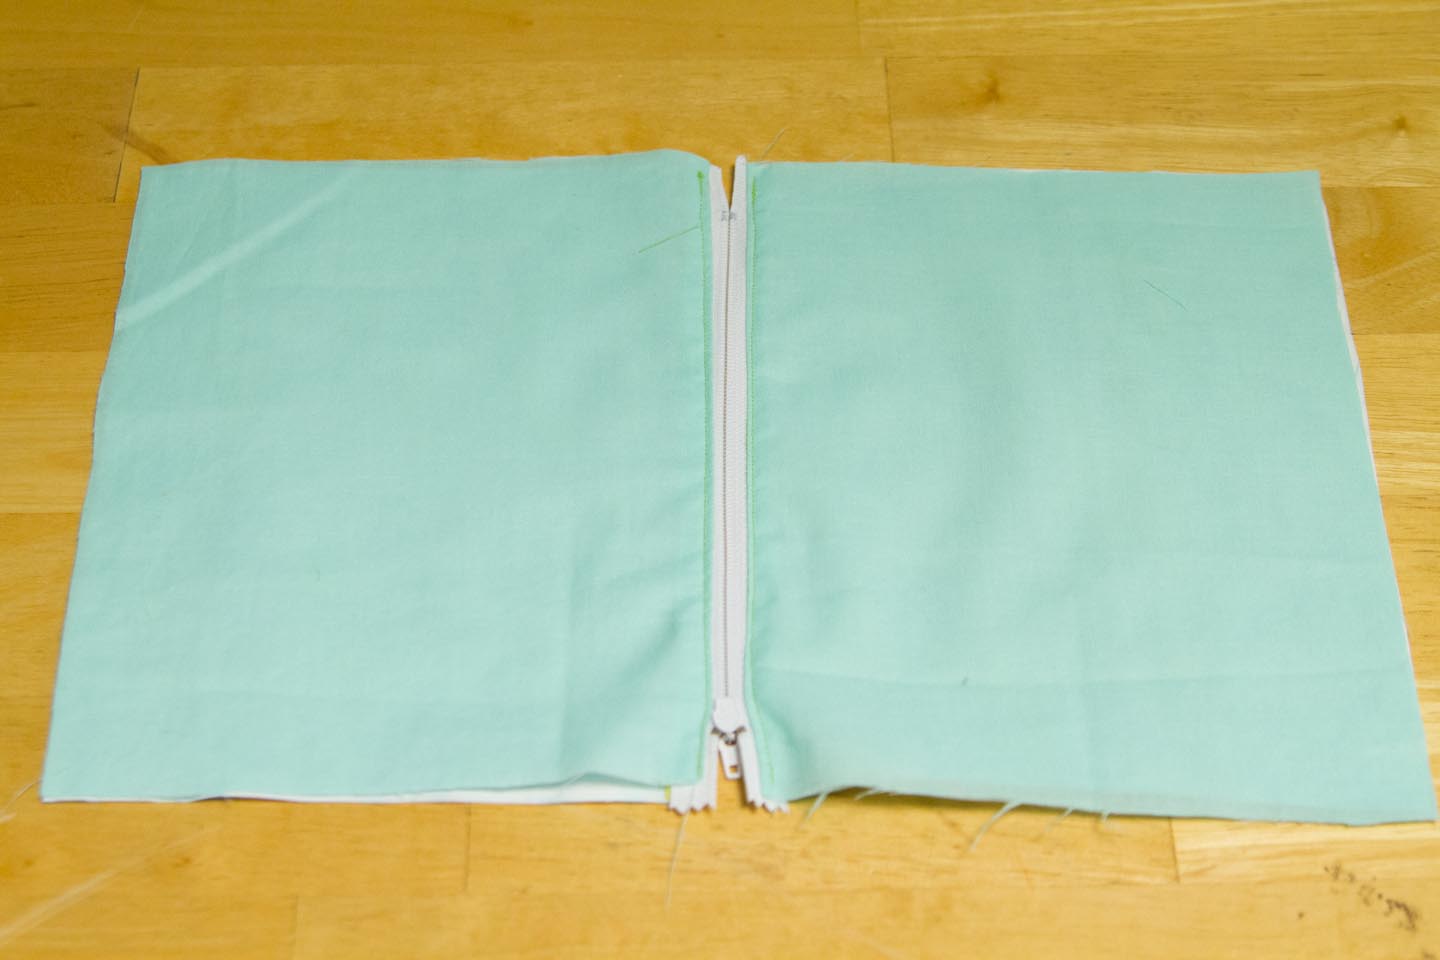
Next we’re going to unzip the zipper about 3/4 of the way. If you don’t do this step you’ll have a very difficult time turning the pouch right side out. Be warned. Skip this step at your own peril.
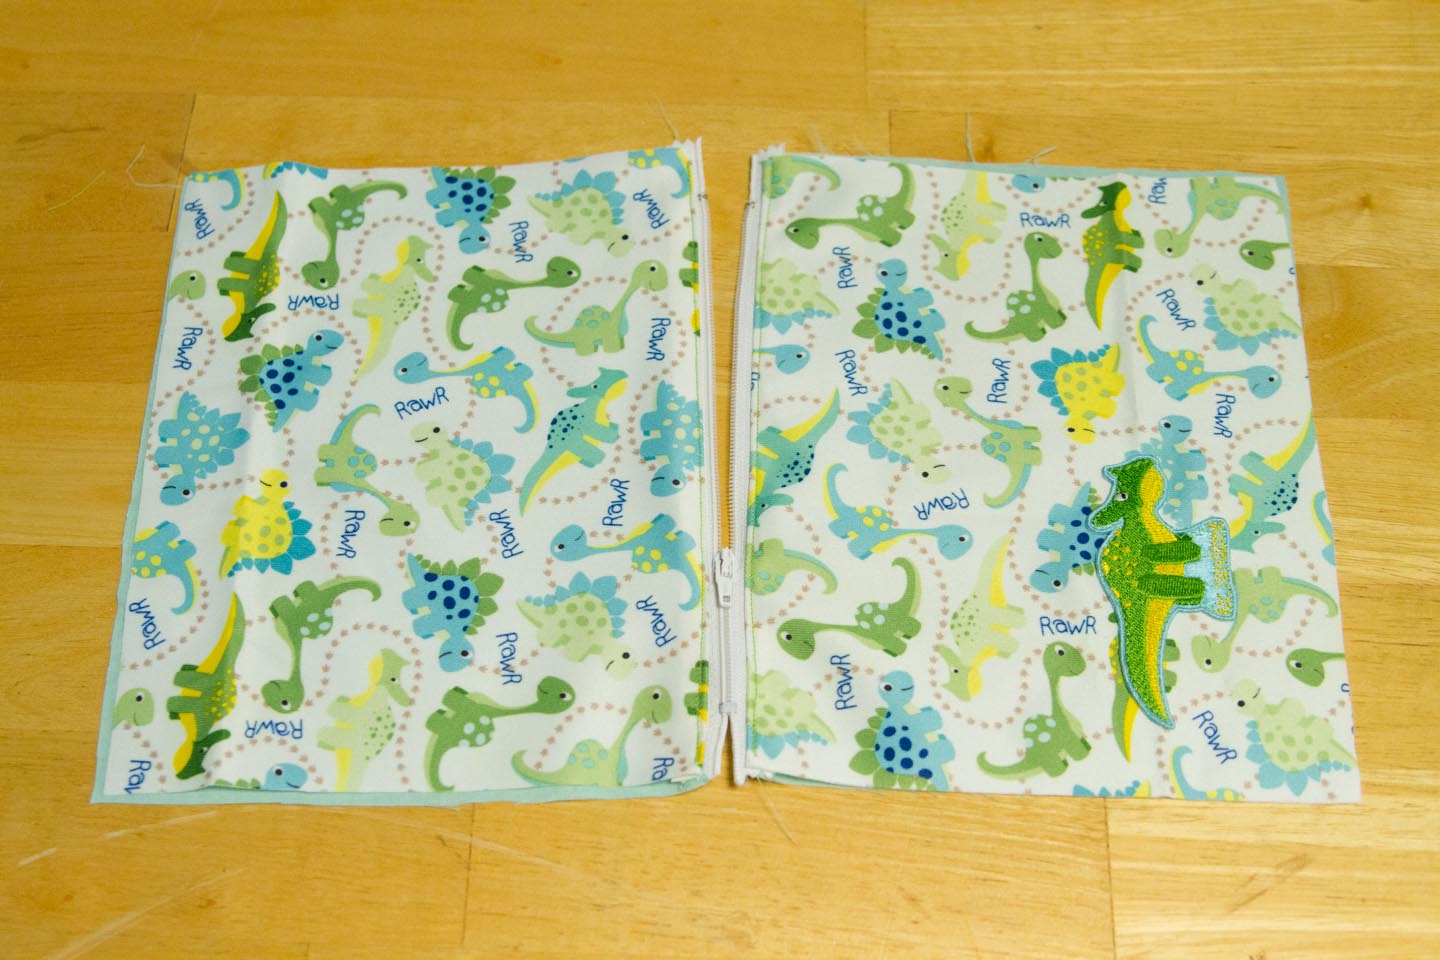
Flip outsides together and insides together.
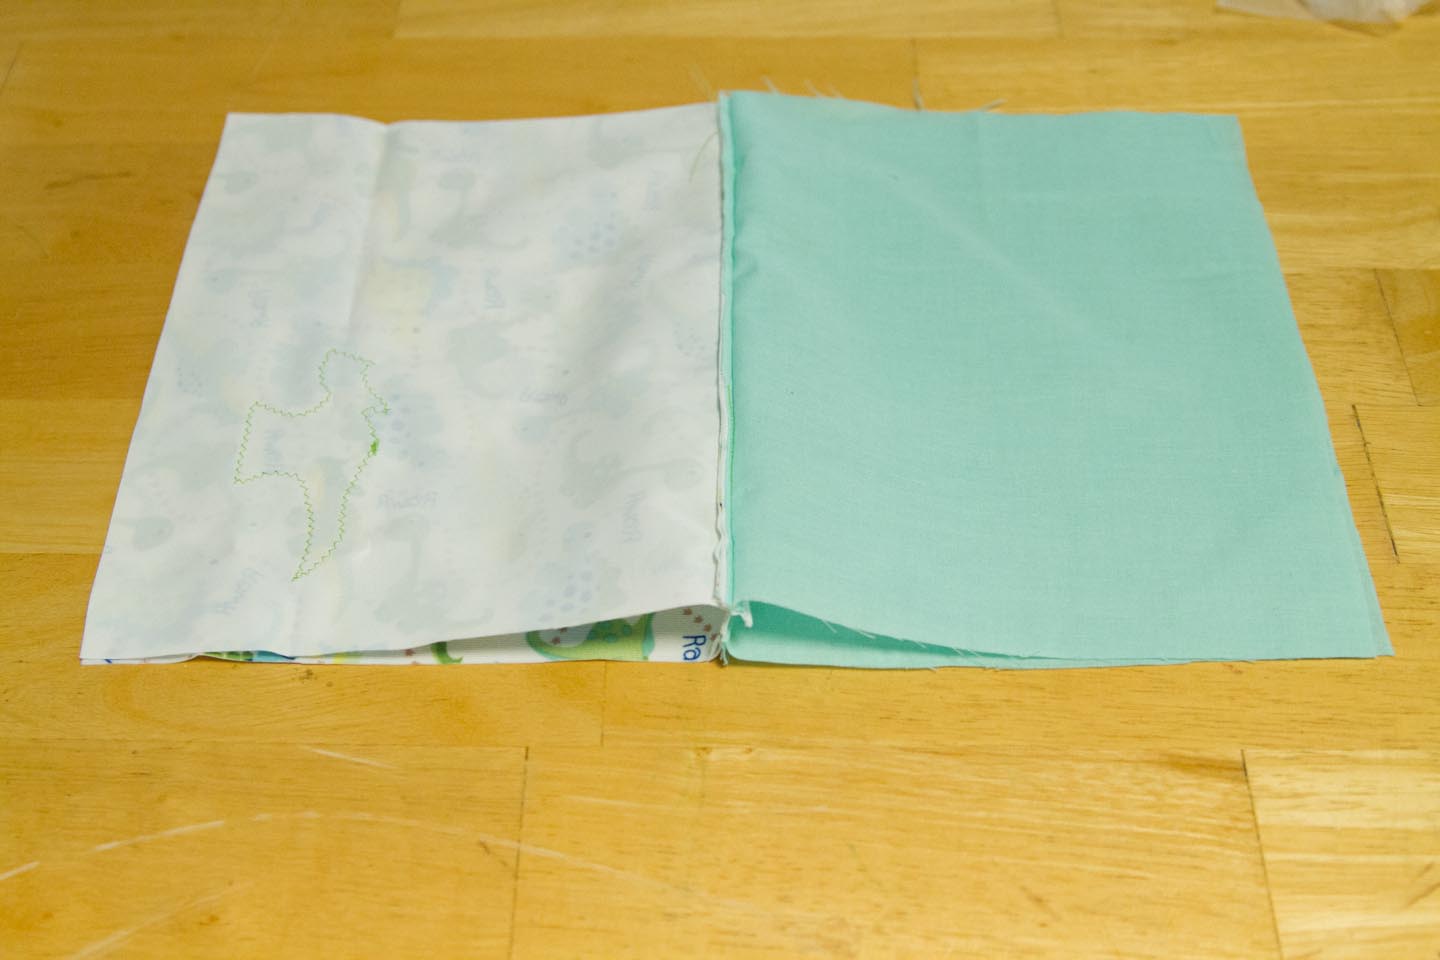
Now we’re going to sew all around the pouch in one giant rectangle leaving just about a three inch section in the lining unsewn. When I got to ends of the zipper, I stitched over them, backstitched over them, and then stitched over them again continuing around the rectangle. I also put wax paper under the PUL side. You’ll end up with this.
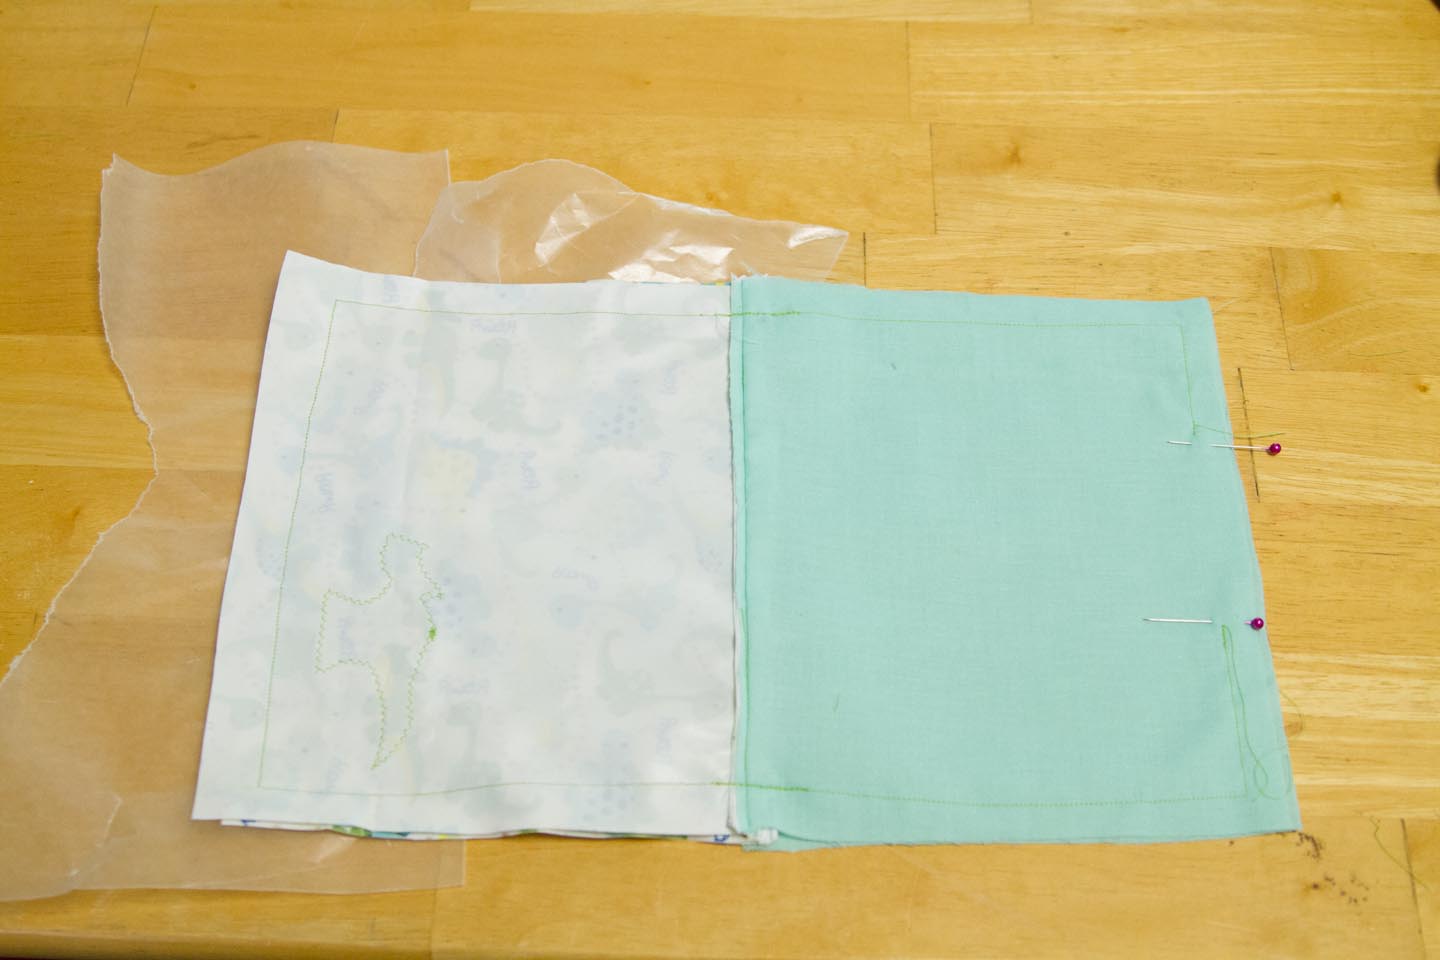
Cut your corners close to your stitching so you can turn your corners out nicely.
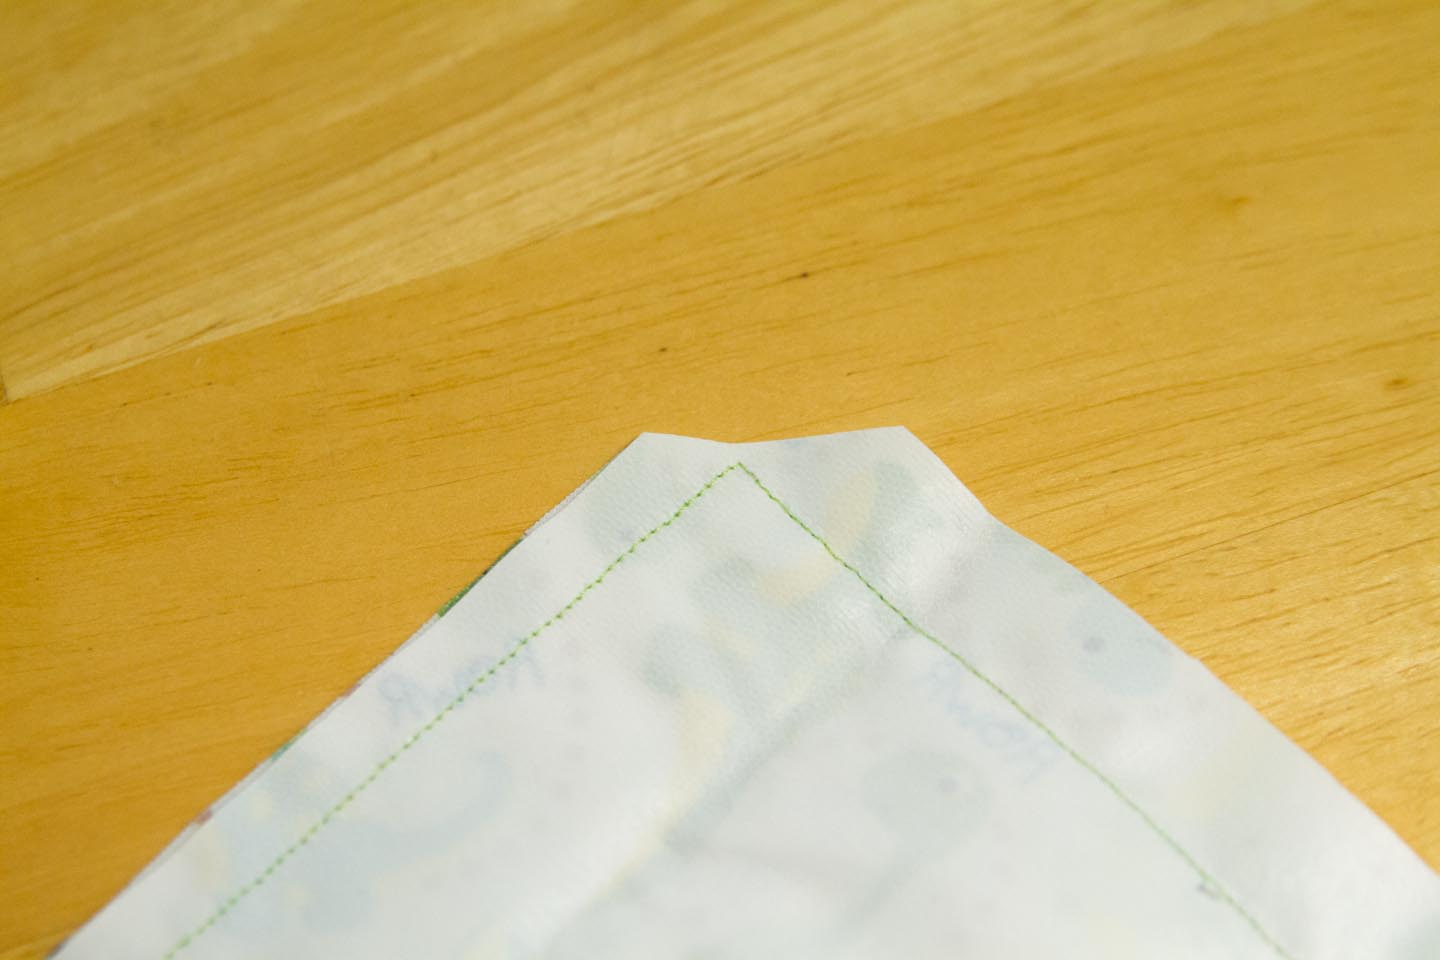
Flip back right side out through the hole left in the lining.
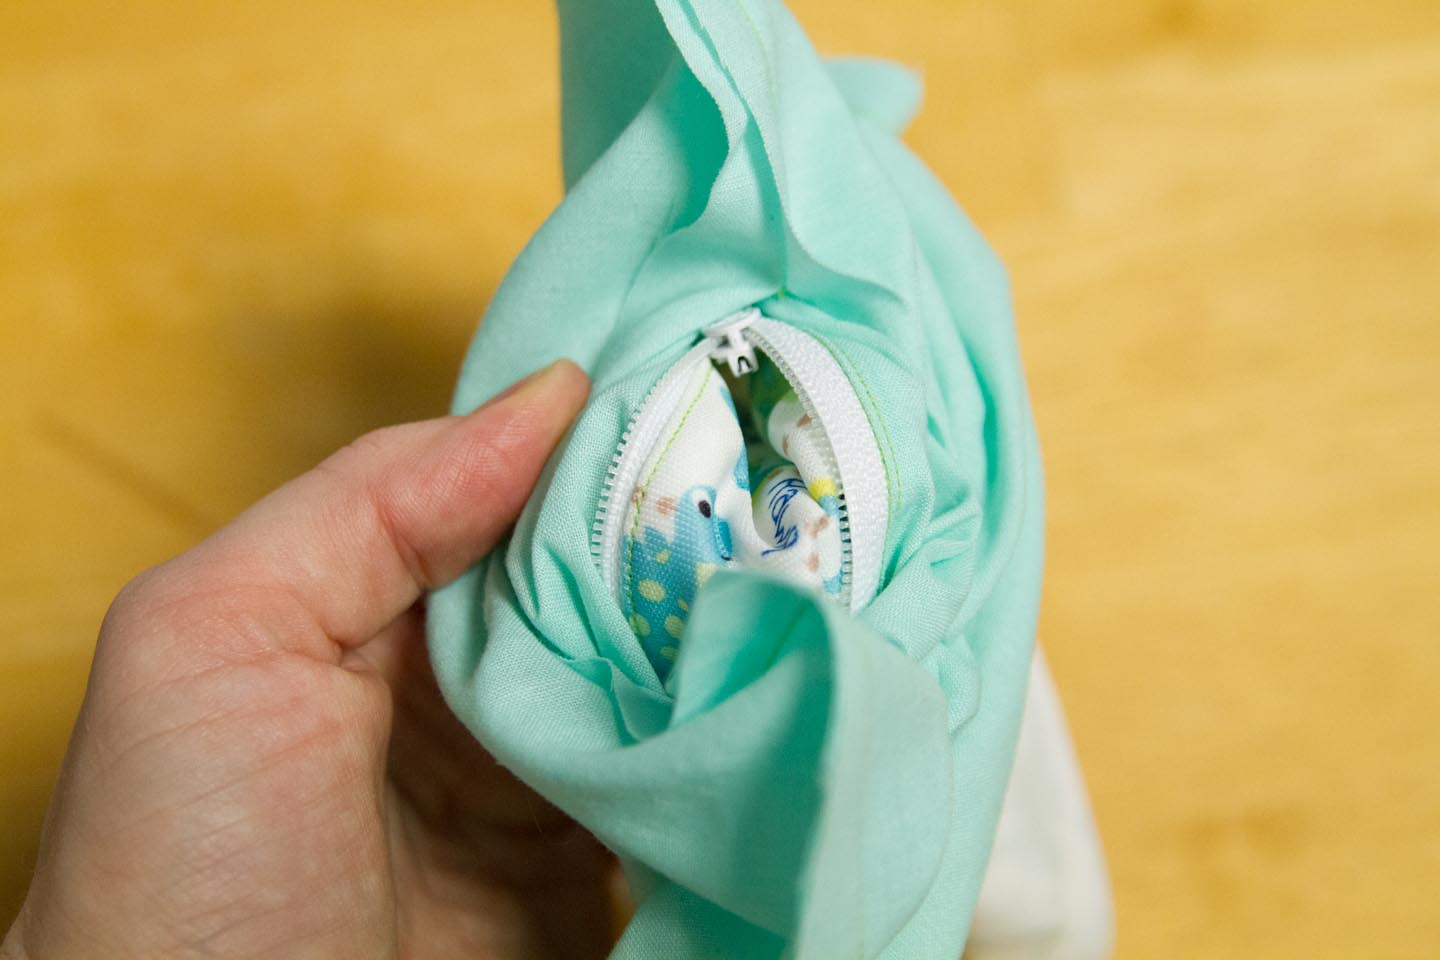
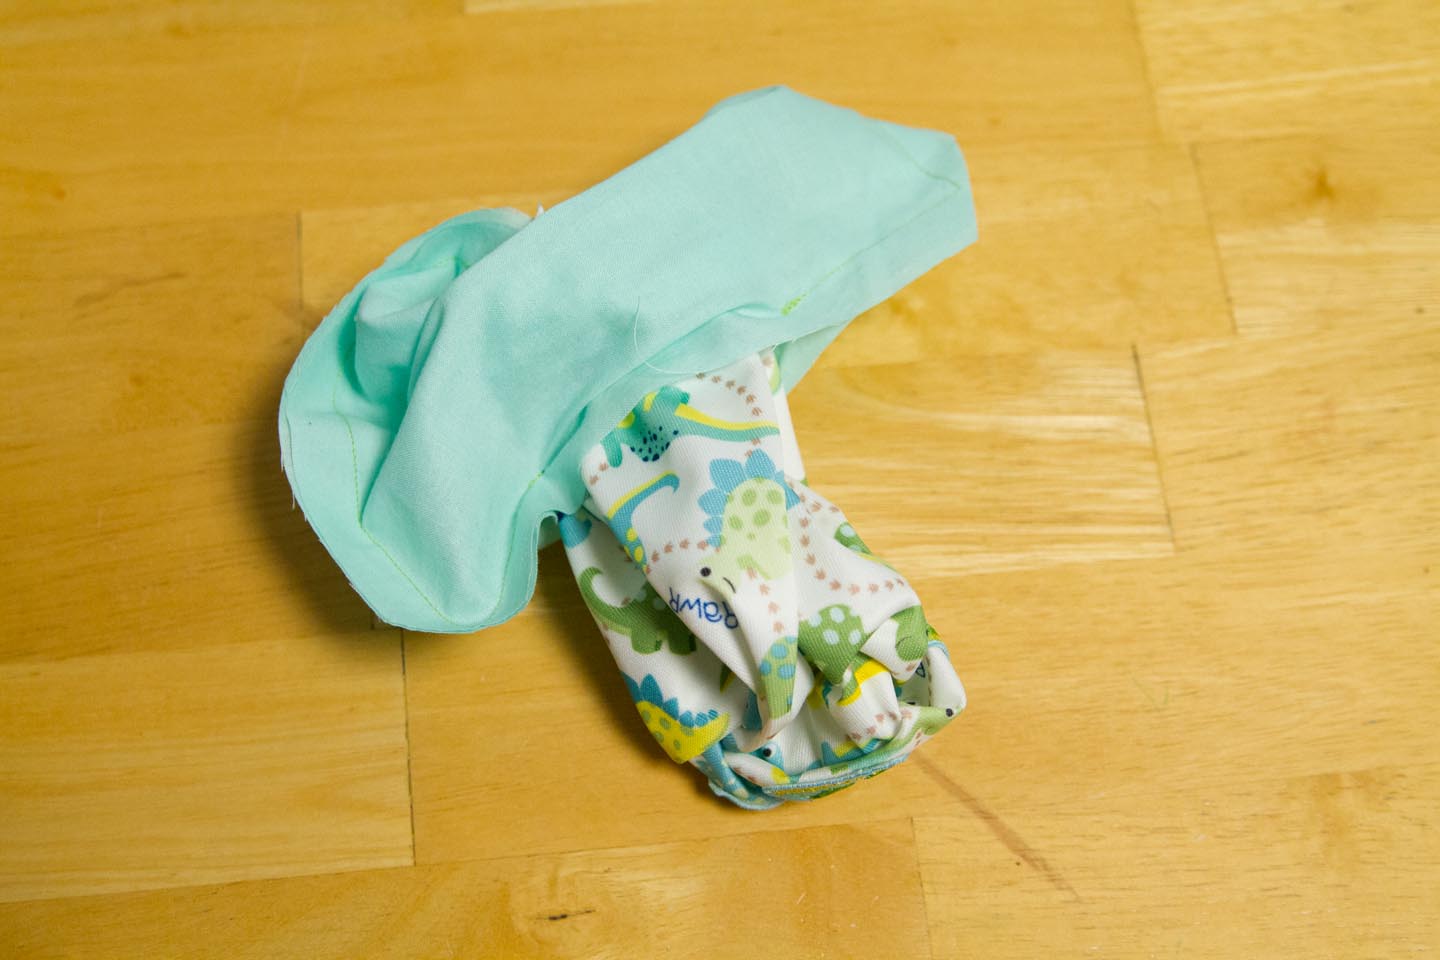
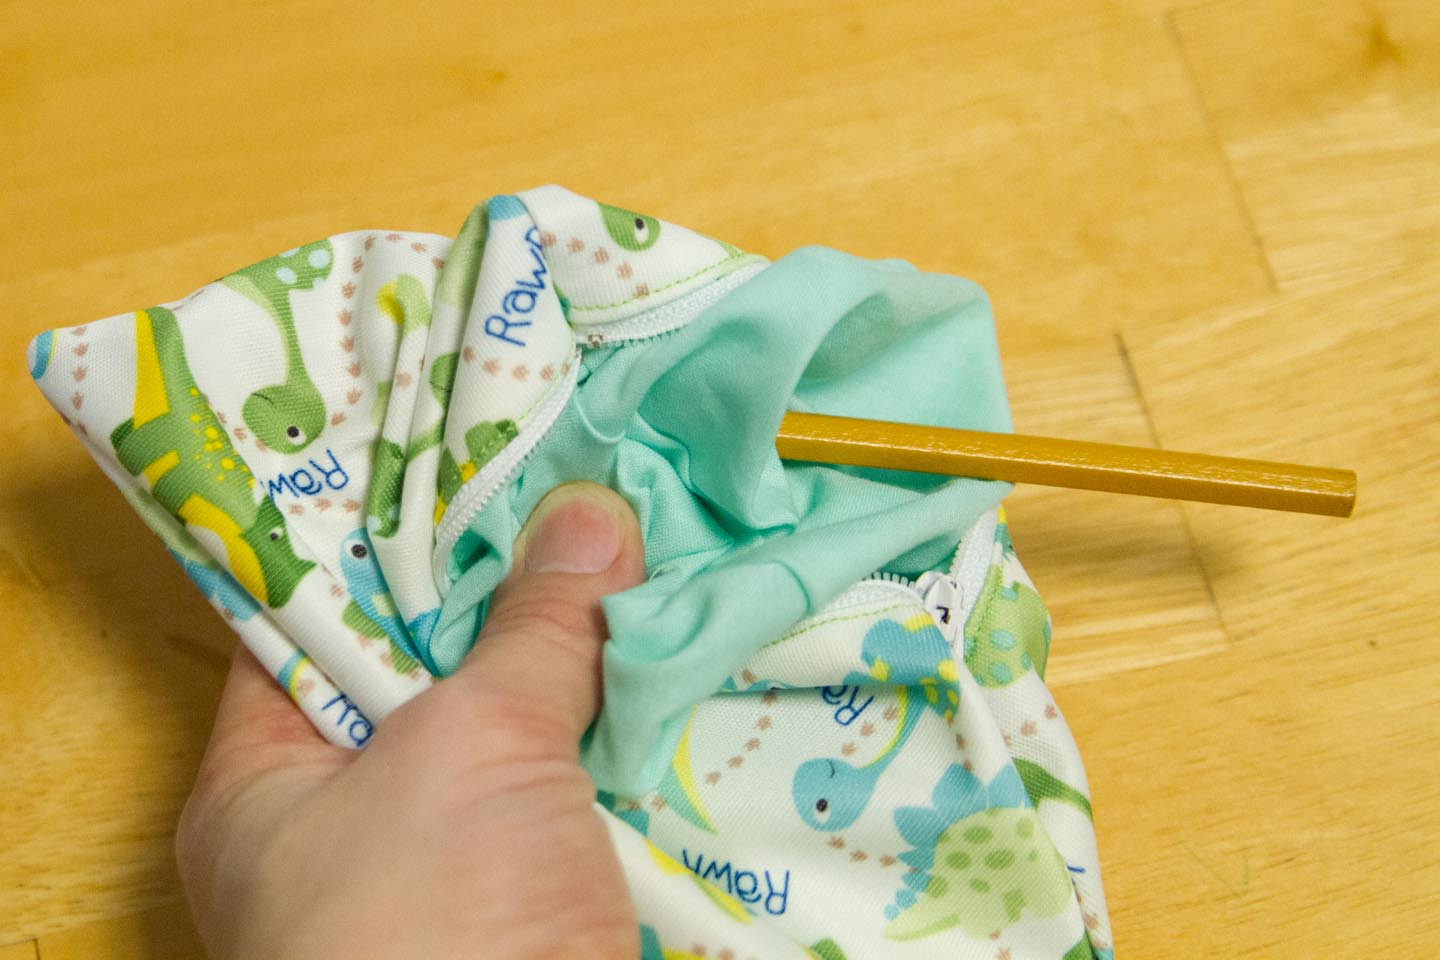
I feel like I would be doing you and injustice if I didn’t recommend using the eraser end of a pencil to push your corners out nicely.
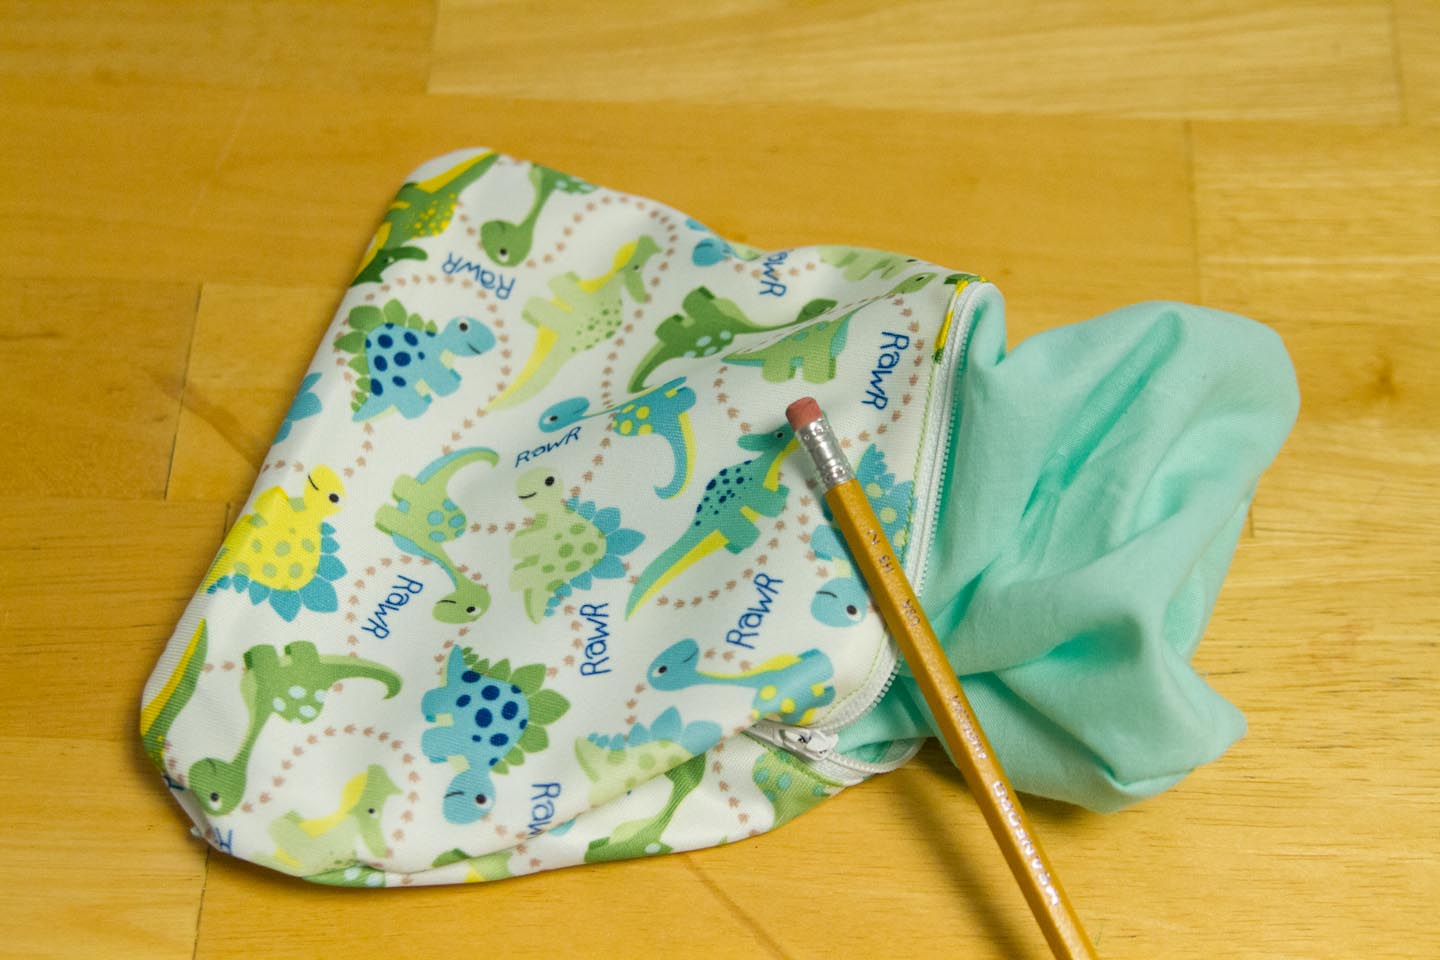
Once it’s all turned right side out you should have this.
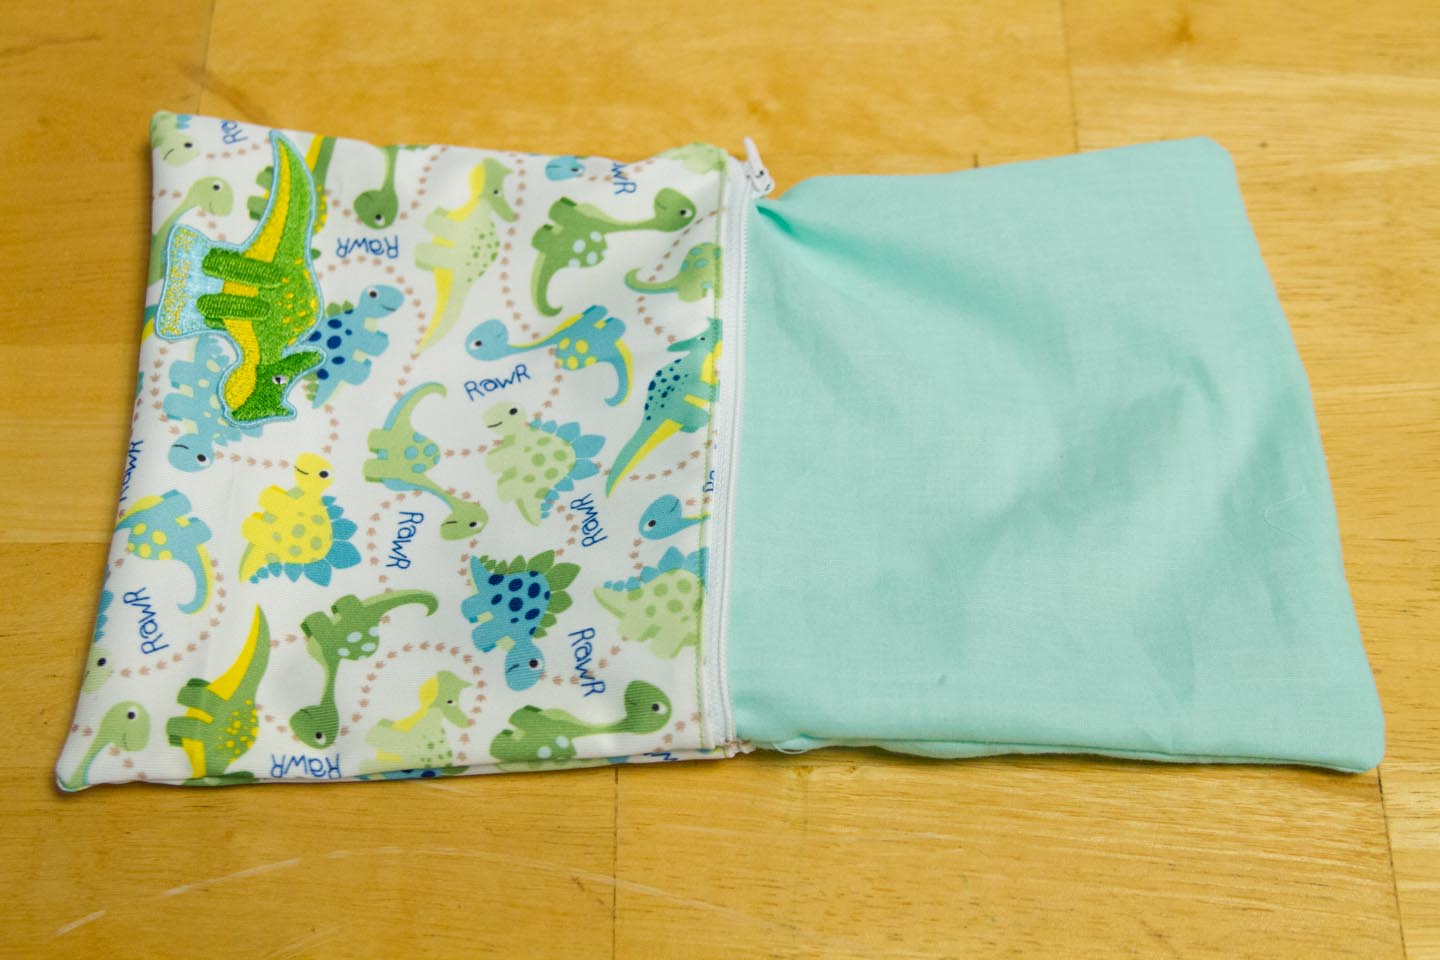
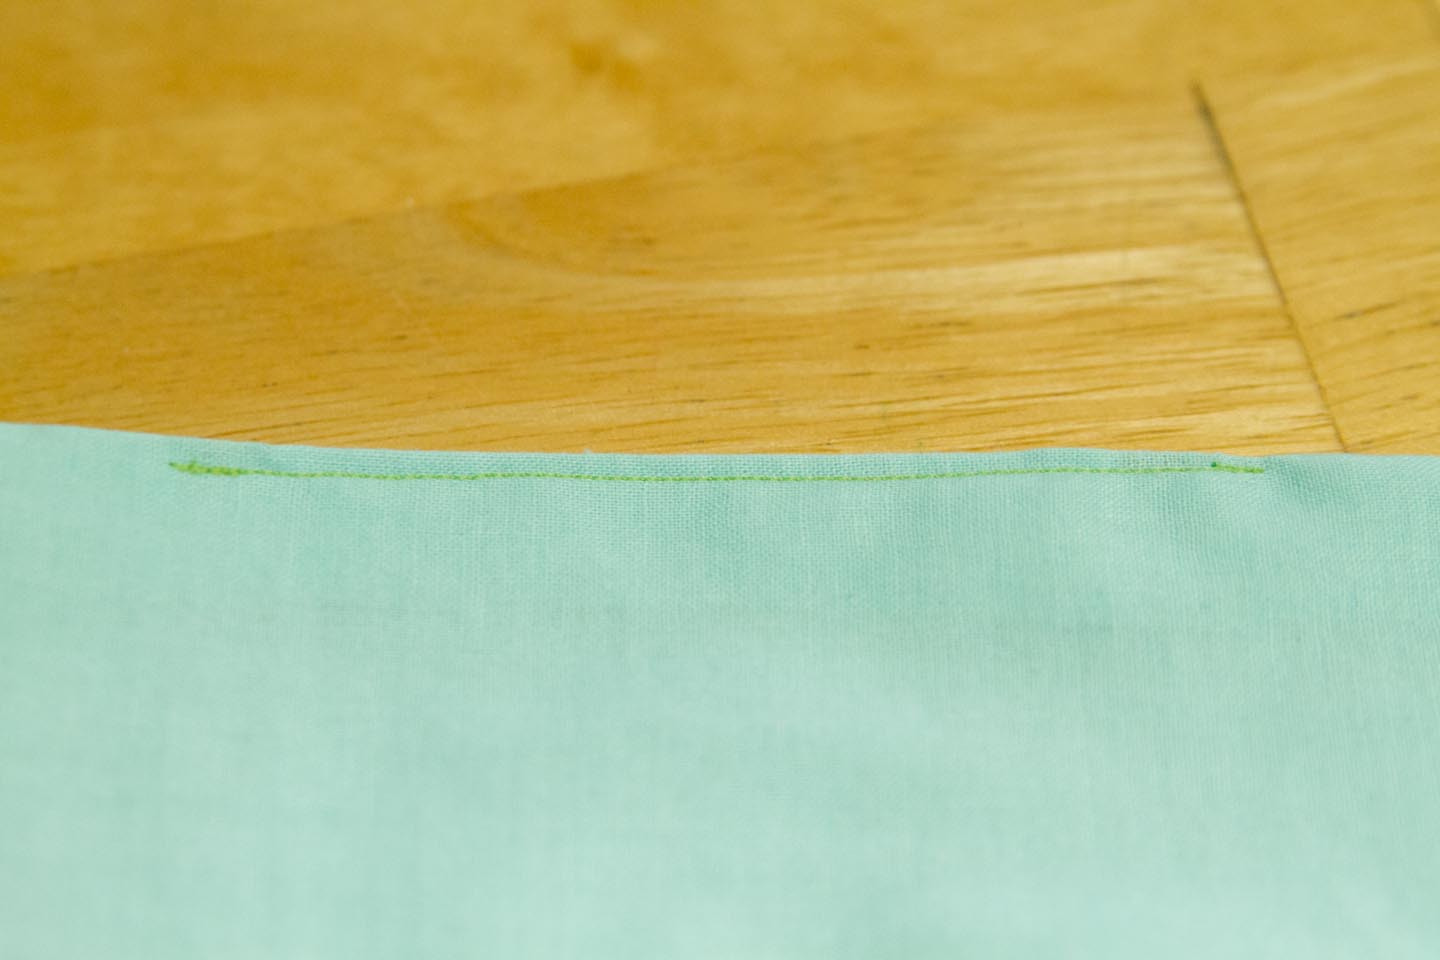
Now we need to take care of that hole. You could whip stitch this by hand if you wanted but, since our machines are out and ready to go, why not just stitch really closely to the edge. Looks good to me!
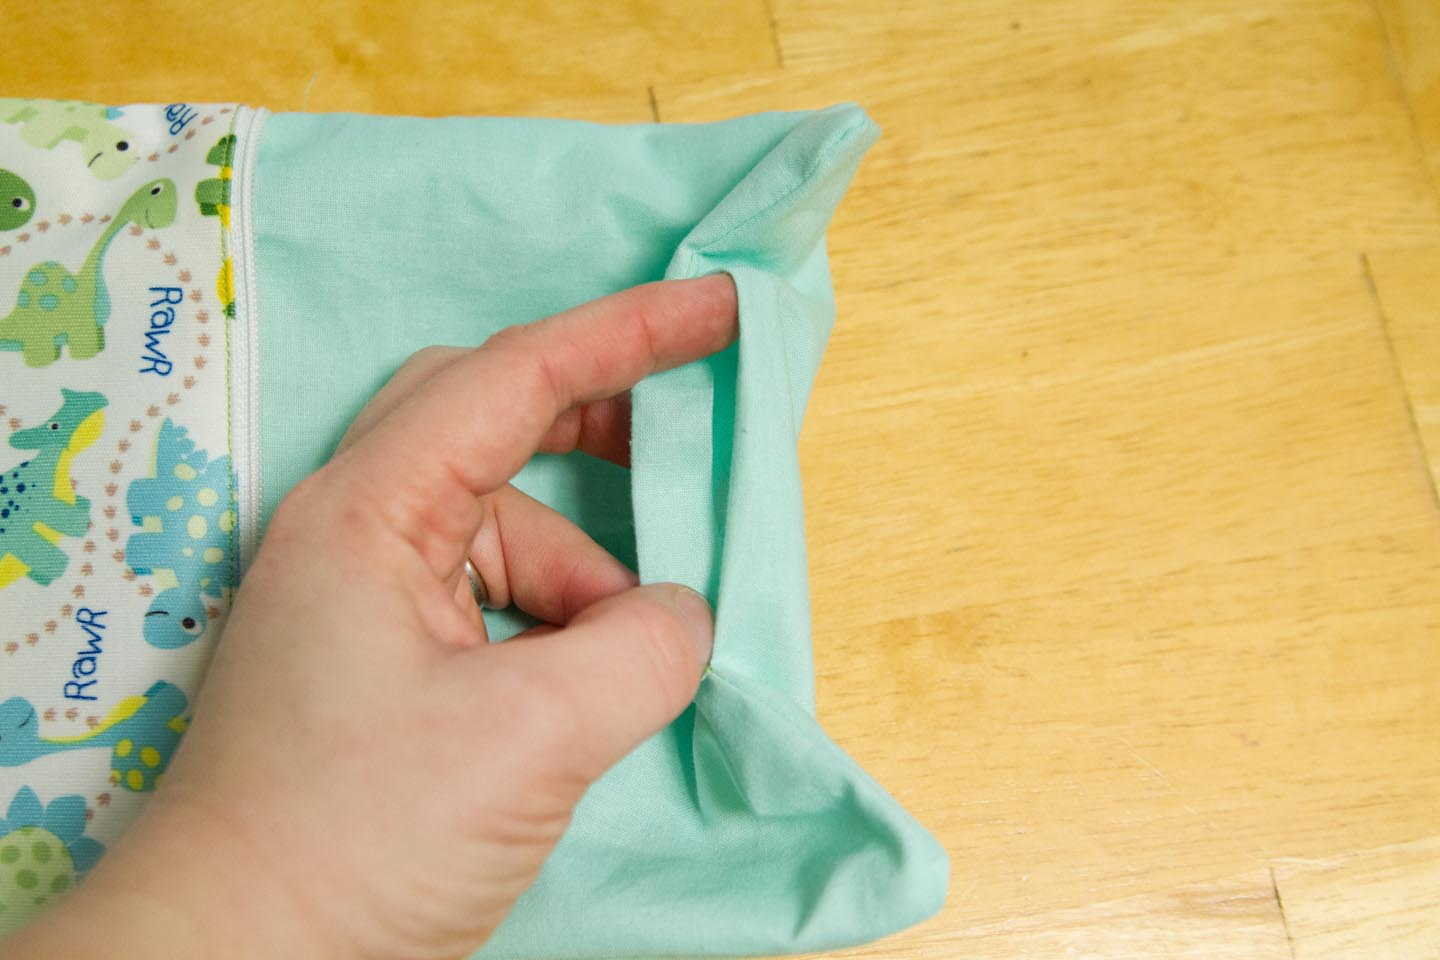
Turn the lining into the pouch and you’re all done! That was so easy you want to do fifteen more now, right?!
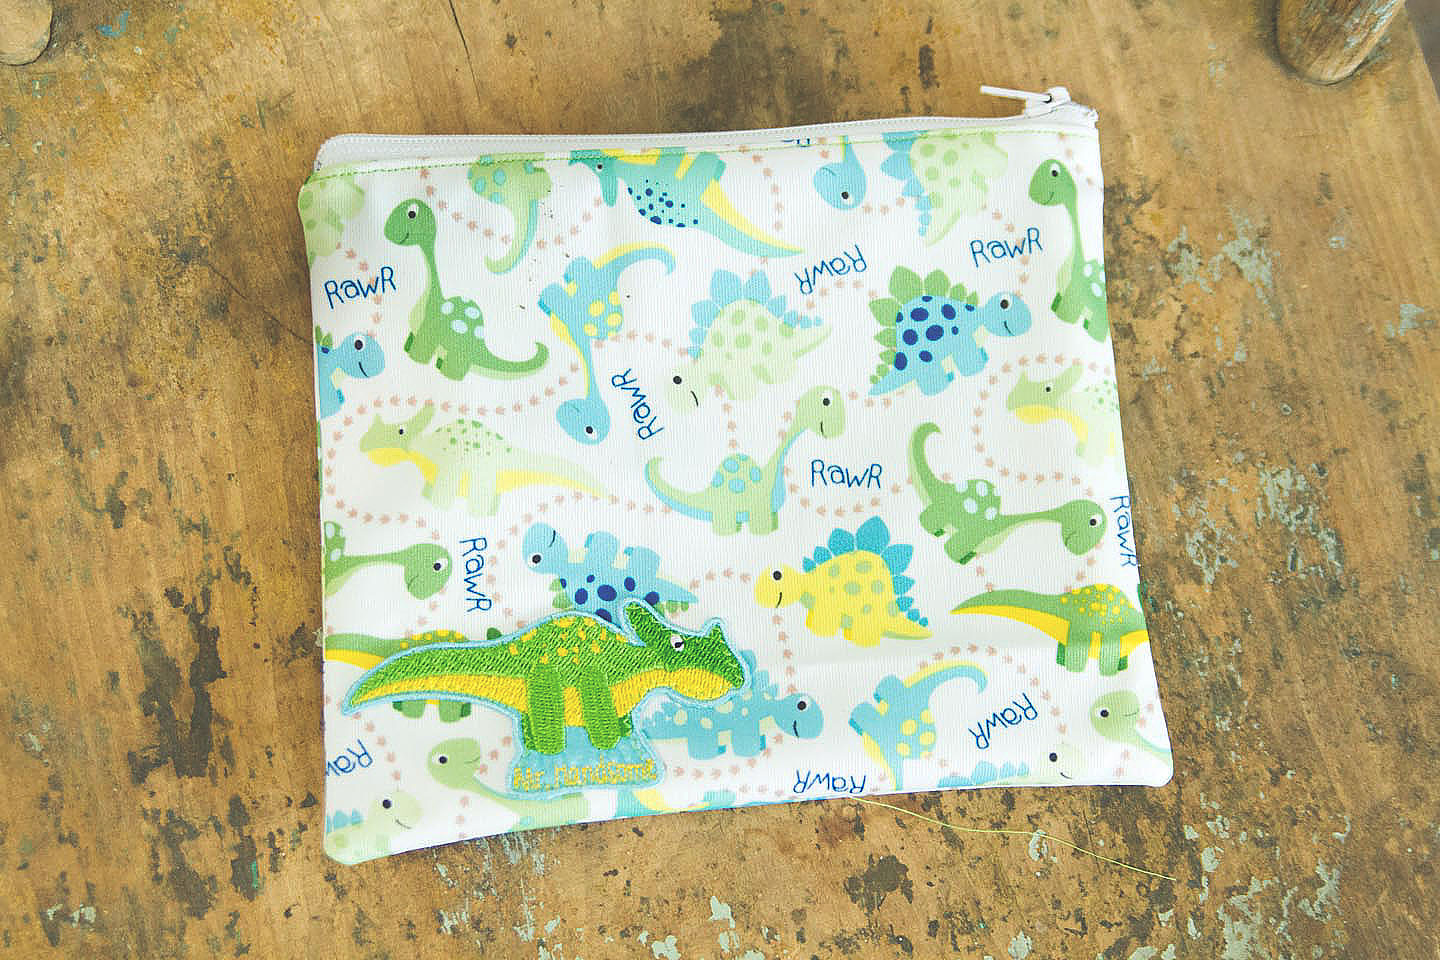
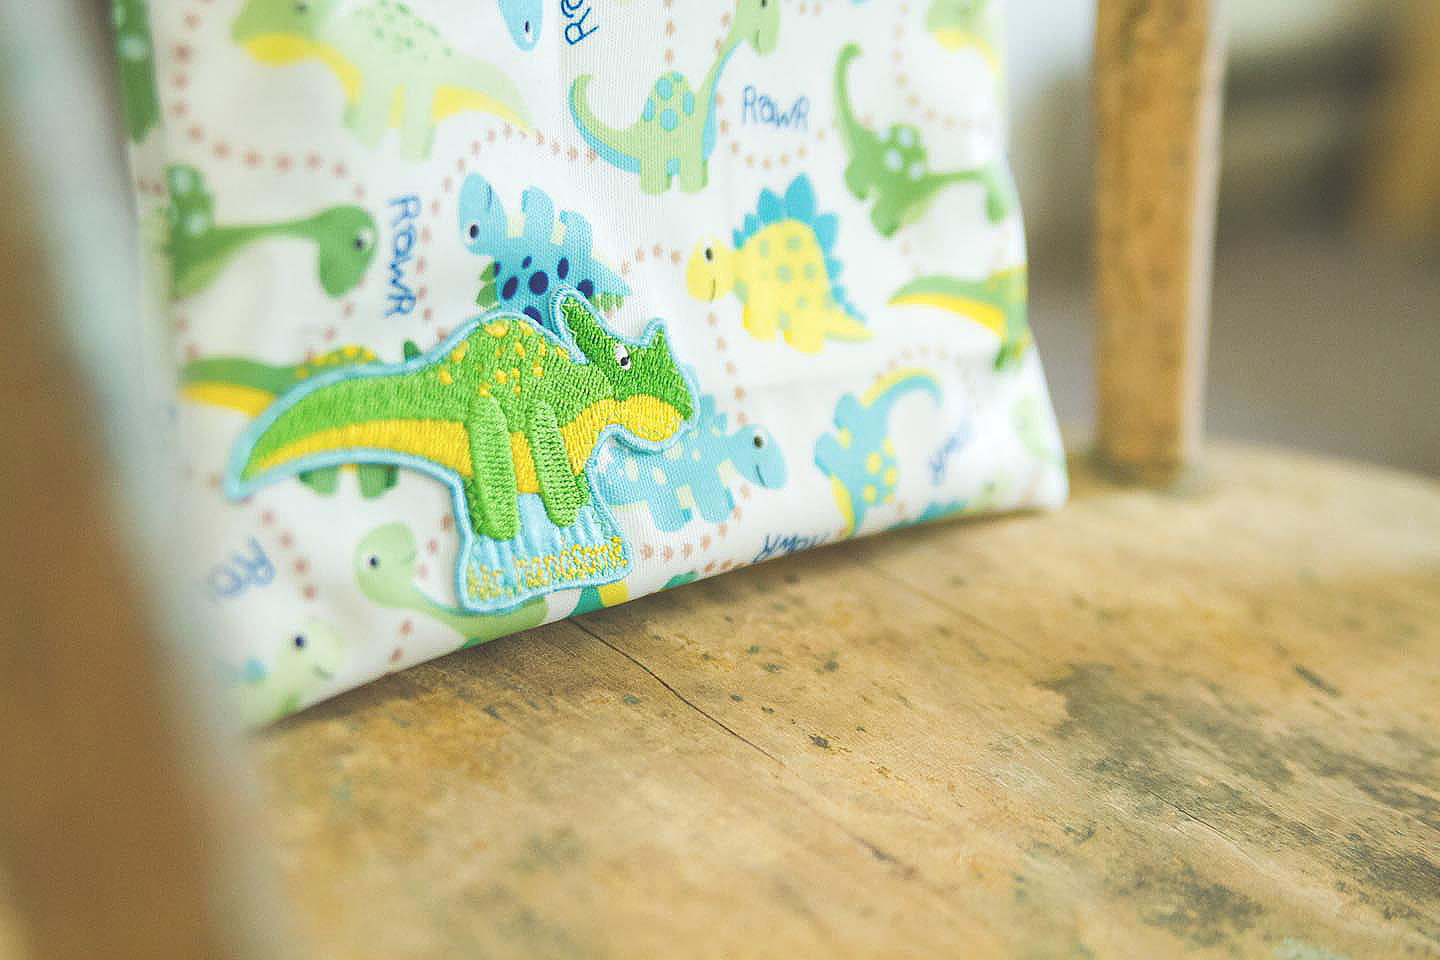
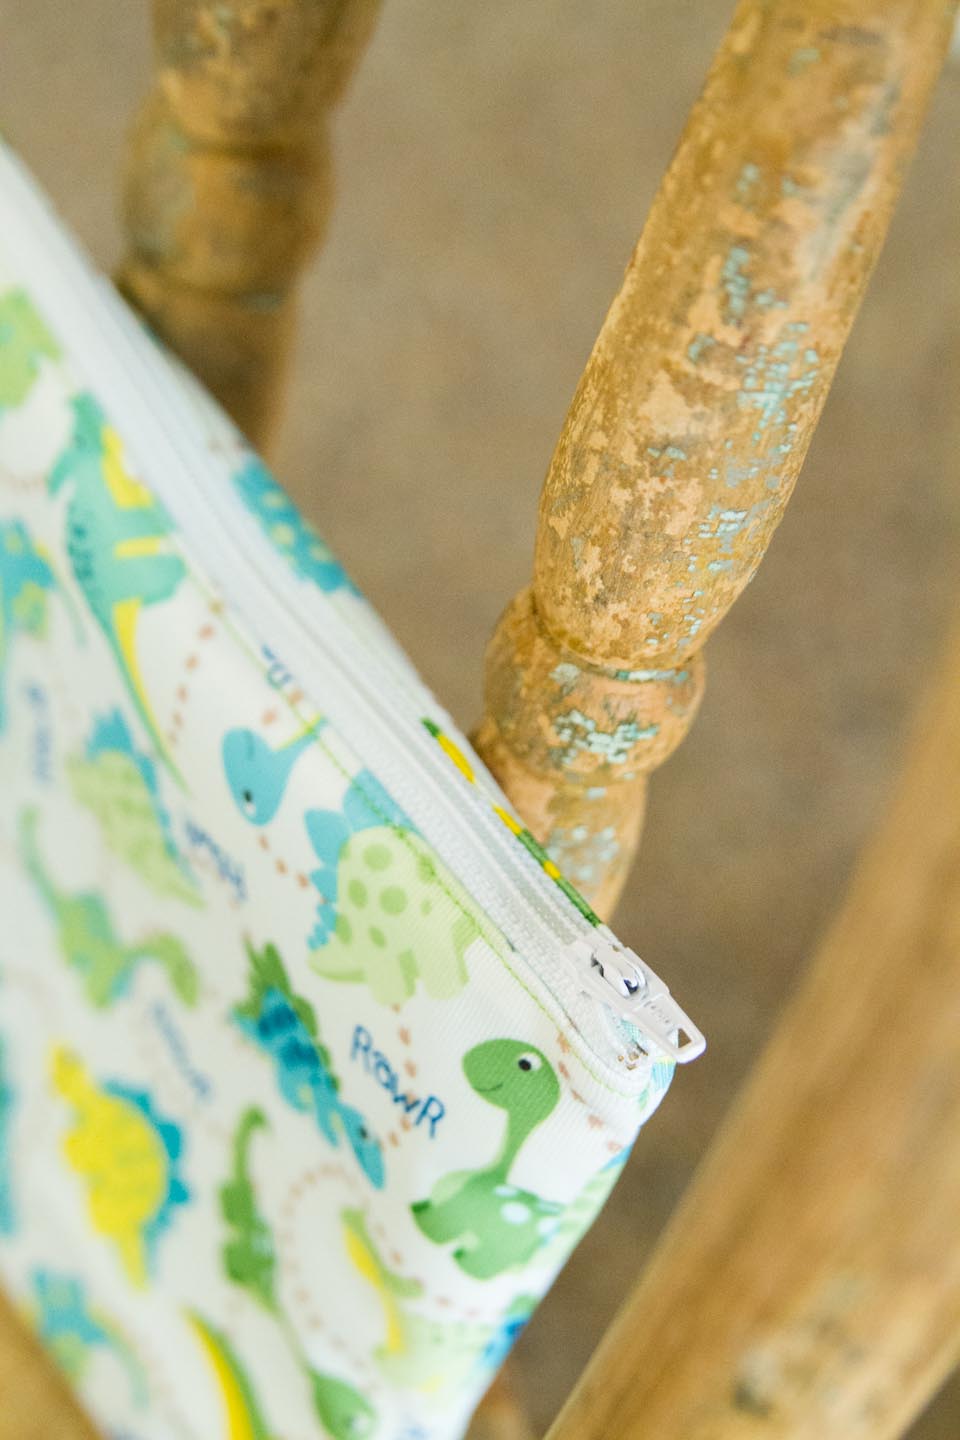
Seriously though, I really hope that someone finds this useful. I was going to buy these rather than make them but the only ones I could find at Target were just plain awful. These are SO much cuter. Plus, I think Noah now has the coolest snack bag in his whole school!

With 6 children. .this is a money saver. Fun and very creative. LOVE IT!!!
Seriously? Amy, I am amazed by this tutorial! I love your pictures and humor that go along with it. As I read I thought- oh my gosh that is so much WORK I would never make those. Then I got to the bottom and saw how awesome it was and thought- HEY I can do that! I want some of those, they are awesome! 🙂 You are inspiring!
It looks like a lot because there are so many pictures to help explain but it really won’t take long. Plus, the more you do, the fast you get!
I recently bought this PUL and wondered what I'd do with all the extras and now I know that I will try this. Thanks for the tutorial!
Can I get one for Bella?
Bella needs a snack bag? She knows how to use a zipper ??
You’re welcome Jenelle!
these are awesome! i bought the ugly target ones…because i can’t sew a straight line. but i’m bookmarking this in case i get brave enough to learn this year!! great tutorial!
I’m serious when I say this. I was deathly afraid of zippers. In my business I made altercations to avoid zippers. My mother in law told me never to go near zippers. I settled on making my snack bags with velcro. Until I saw this tutorial! I just successfully sewed on my first zipper! You are amazing for sharing this and have made my week, month, year!
I am only a novice sewer so forgive me if this is a stupid question….I was just wondering if there is a reason you used the cotton on the inside and the PUL on the outside? I purchased plain white PUL and cute cotton fabric with the intention of having the PUL being the liner that actually touches the food, I was thinking that would be better for cleaning, etc….but now I’m questioning myself! Great tutorial, I have seen a few with Velcro but love the zipper plan! Thanks!!
I put the cotton on the inside because I had some concern about chemicals being on the PUL that would then leach onto the food. My thought was that the cotton would provide a bit of a barrier. There are a lot of people that make the snack bags so the food goes right on the PUL so you just have to decide if it’s a concern for you.
I’m glad you’re enjoying the tutorial!
This is a wonderful tutorial. I’m a nursing student and am trying to save money any way I can and now I don’t have to spend money on ziploc baggies for when I bring my snacks to clinical! Thank you so much for this tutorial, it really was super easy to follow and I just began sewing a few months ago. I can’t tell you how thankful I am I found this !! thank you thank you thank you!!!!!
You’re SO welcome Samantha! I’m glad to hear that you found it useful and that it’s helping you save. Wishing you the best in your nursing career!
Thank you for this great tutorial! I’ve been wanting to make some of these for a long time, but I really hate sewing zippers, lol. But I was a good girl and pulled my zipper foot out from the depths of my sewing box! The first one took me a while to make but now that I understand the thing I think it will go much faster next time! I just ended up putting the PUL on the inside though because I purchased PUL that is oeko-tex certified.
Thank you for the detailed instructions with pictures as that is what I was looking for! I really do want to make these (and a bunch of other things that I’m not getting around to of course)! I am a novice sewer and have never sewn a zipper before so need to find out about a zipper foot. I did read that a walking foot is good to use with PUL (and I don’t have that either).